Basic Interaction from a Custom Web Page
This application note describes how a custom web page can talk to Blocks to trigger a number of tasks. The more extensive application note titled "Advanced Interaction from a Custom Web Page" discusses a number of methods of custom integration. However, in doing so, it may also be perceived as complex and overwhelming. Hence this more "Basic" application not, where the emphasis is on simplicity.
Installation and Usage
You need a computer with a running blocks server and a web browser to run this application note. Here's the Blocks root for this application note. See the the general setup section for details on downloading and installation. Once that general setup is done, follow these steps to run the application note:
- Start Blocks.
- Open the Blocks editor using the Admin button.
- Log in using the proper credentials (default user name is admin and the password is pixi).
- Navigate to the Task page.
- Select the Realm named "Public".
- Select the "Web" group.
- Select the task named "One", containing a single log statement.
- Open a second browser window to the same address as the editor window, but replace /edit/xxx with /public/html/WebTask.html to open the custom web page (see below).
- Click the One button.
When you click the button, the "Started" message will be logged on the Task page in the Editor.
Behind the Scenes
This integration consists of two custom parts:
- A custom web page, showing two buttons.
- A User Script in Blocks, accepting and acting upon the request.
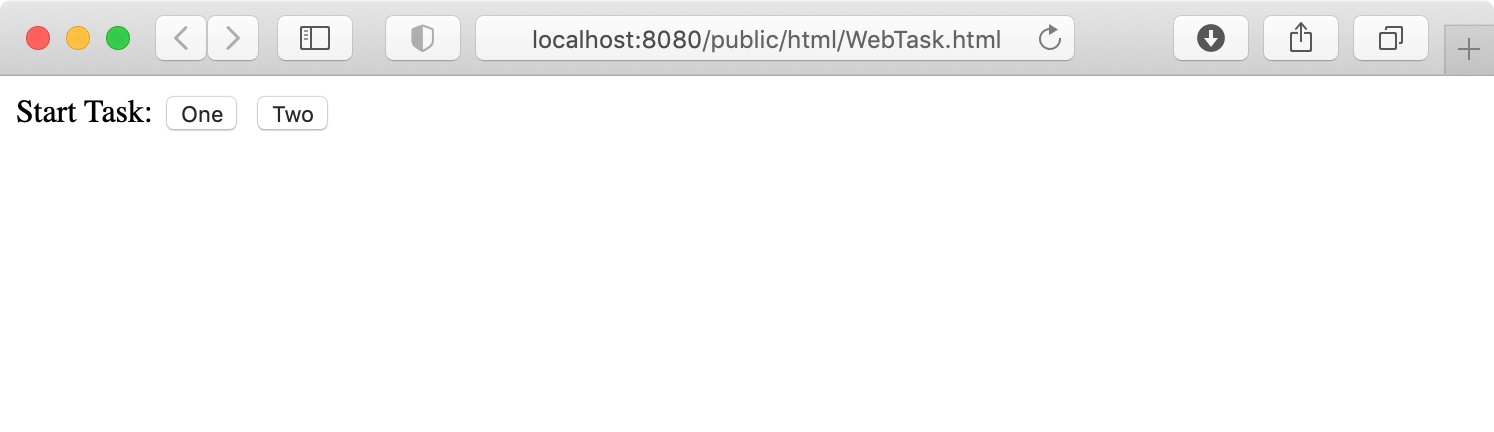
Custom Web Page
As you can see above, the custom web page is very basic indeed, consisting only of some text and two buttons. Here's the HTML code behind that page.
<!DOCTYPE html>
<html>
<head>
  <script>
    function startTask(taskName) {
      // Parameters passed as JSON to the server-side WebTask user script
      const taskPar = {
        task: taskName  // Name of task to start
        //, group: goupName  could be added here to specify task group
      }
      // Make the POST request to the server side handler
      fetch("/rest/script/invoke/WebTask/start", {
        method: 'POST',
        body: JSON.stringify(taskPar),
        headers: {
          'Accept': 'application/json',
          'Content-Type': 'application/json'
        }
      });
    }
  </script>
</head>
<body>
  Start Task:
  <button onclick="startTask('One')">One</button>
  <button onclick="startTask('Two')">Two</button>
</body>
</html>
You can see the code corresponding to the text and the two buttons at the end of this code, inside the <body> section. Each of those buttons have an onclick handler, calling a startTask function with the name of the task to be started.
This startTask function is defined in the <script> section of the code. The function makes a POST request to a URL on the Blocks server, passing it an object named taskPar, specifying the name of the task to run.
 The URL specified in the fetch request omits the protocol and server name. That's OK since the fetch request is calling back to same server as the web page is served from. If your web page isn't hosted on your Blocks server, you need to prefix the URL with the protocol and host name (or IP address), like this:
http://10.1.0.10/rest/script/invoke/WebTask/start
Here, the server is assumed to be at IP address 10.1.0.10, and responding to the standard http port 80. If you're running on your laptop, you may need to add :8080 after that IP address (see the URL used in the blocks editor web page).
User Script
Code also exists on the server side (in the files script/user/WebTask.ts and WebTask.js) to receive and act upon the request. The best way to view this code is by using a code editor. See this article for setting up a code editor for use with Blocks. But if you just want to take a look, any text editor will do.
Much of the script file is comments, with the most interesting part being the start function. As you can see, the name of this function corresponds to the last word in the URL called from the custom web page. Likewise, the name of the user script (WebTask) corresponds to the second last part of the URL (see above). Here's the start function that does the heavy lifting in this script:
  @resource()
  start(param: TaskPar) {
    const realm = Realm[this.config.realm];
    if (realm) {
      const groupName = this.config.group || param.group;
      const group = realm.group[groupName];
      if (group) {
        const task = group[param.task];
        if (task) // Found the task to start - do so
          task.running = true;
        else
          throw("No task named " + param.task);
      } else
        throw("No group named " + groupName);
    } else
      throw("No realm named " + this.config.realm);
  }
Note that this function is marked by the @resource() decorator. This is what makes it callable from the outside using a POST request. Most of what's inside the function is code for checking the validity of the request, making sure there is indeed a realm and task group and task with the specified name before starting it. If there isn't, the request will be rejected, and an error message will be logged in Blocks like file. For instance, if adding a button that attempts to start the task named Three, the following error will be logged
'No task named Three' from ScriptRunner.script/WebTask_start_20
This indicates that the requested task didn't exist, also telling you that this message came from the WebTask script.
Next Step
While the above example may be perfectly adequate for what you want to accomplish, the application note titled "Advanced Interaction from a Custom Web Page" provides more options, including real-time bidirectional communication between Blocks and a custom web page.