World Clock
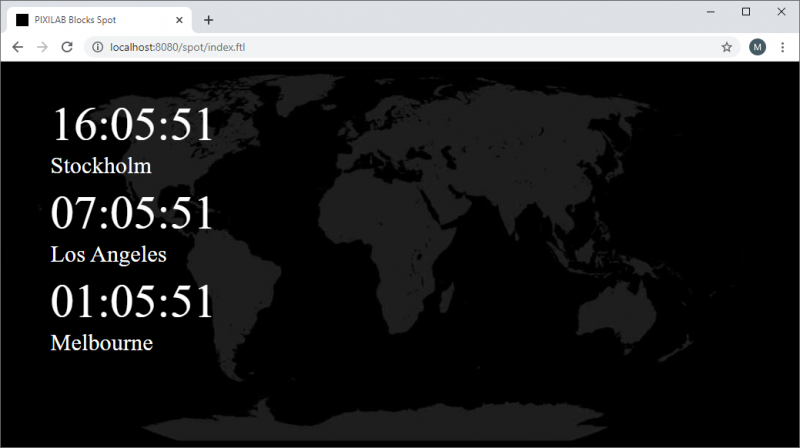
This application note shows how to use a Web Block to show a reception-style world clock. The web page shown uses the local player's time, interpreted using multiple time zones. This applies Daylight Savings Time and GMT offset as appropriate.
 This assumes your player's clock is set properly.
Installation
First follow this general setup. Use this PIXILAB-Blocks-root, which contains all you need for this application note. Once that is done, follow these steps:
- Start Blocks.
- Open the editor using the Admin button.
- Log in using the name admin and the password pixi.
- Open a second browser window and type in the URL: http://localhost:8080/spot/. If this fails, you may be using a different port on your system. Check the URL bar of the editor window opened before to find the correct port number.
- Locate the main display in the editor, double-click it and reassign it to the ID shown in the test spot window opened in the previous step.
You should now see the world clock on the display spot.
Open the blocks editor and open the WorldClock composition block for editing.
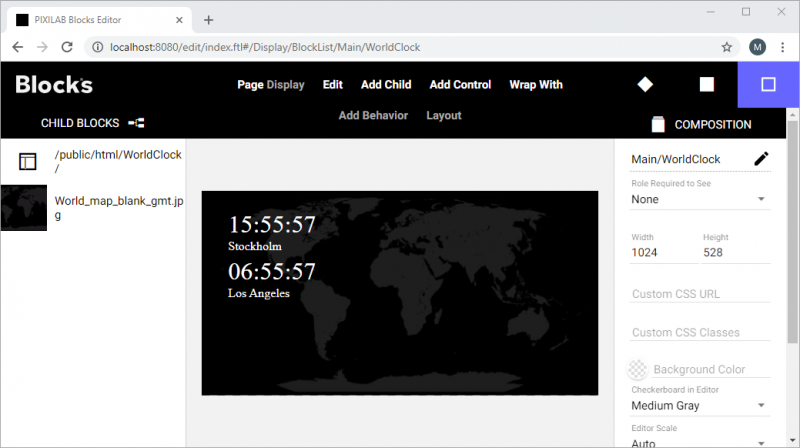
The composition has a background image and a web block running the html/JavaScript clocks. Pay attention to URL, it points at the /public/html/WorldClock/ folder.
Configure locations
Open the root folder a code editor and open the /public/html/WorldClock/config.json file.
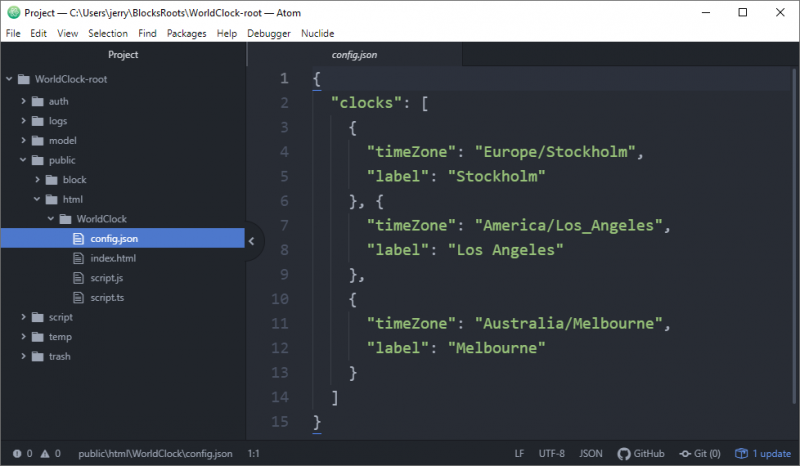
The file holds two values for each location, the label, and the time zone. If you want to add another clock just add another object in the data array. It may be useful to test the content in an online json parser such as this one. If the content can be parsed with no error, it is a good chance the json data is ok. The clocks will automatically be added or removed on window update.
Styling
The default styling is found inline in the index.html file. This can be edited as required or a separate stylesheet can be linked from the index.html file to suit your project.