Audio Guide
This application note provides an example of how to build content using the audio guide functionality of Blocks, covering aspects such as
- Recommended block structure.
- Why and how to use the attractor block.
- How the Location spot fits in to the audio guide system.
This application note was revised 2021-11-17
Installation
You need a computer with a running blocks server and a web browser to use this application note.
Here's a PIXILAB-blocks-root folder containing everything you need for this application Download this ZIP file and unpack it then follow the instructions in the general setup section.
Once you've done the general setup, copied the files and pointed your Blocks server to this root folder, follow these steps to run this application:
- Start Blocks.
- Open the editor using the Admin button.
- Log in using the name admin and the password pixi.
- Open a second browser window and type in the URL: http://localhost:8080/spot/
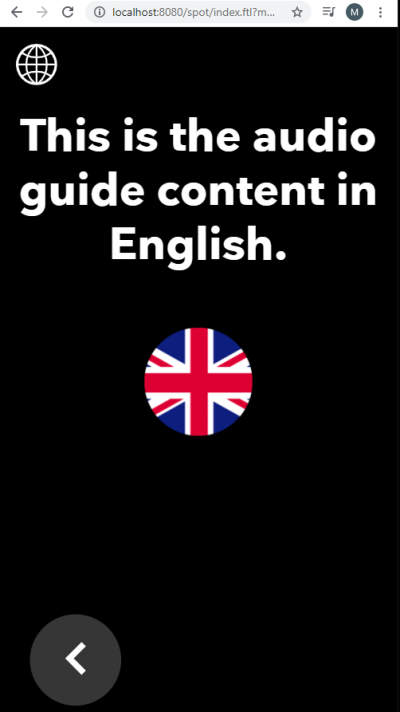
- Open a third browser window and type in the URL: http://localhost:8080/spot/index.ftl?mobile=Mob1, this is your audio guide view, representing the Visitor Spot.
Try it
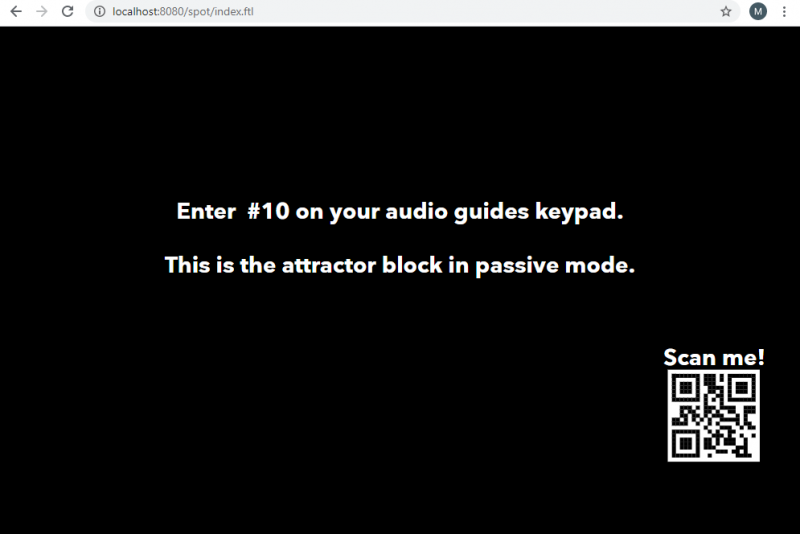
On the Display Spot an instruction should be displayed. This shows the passive content of an Attractor block.
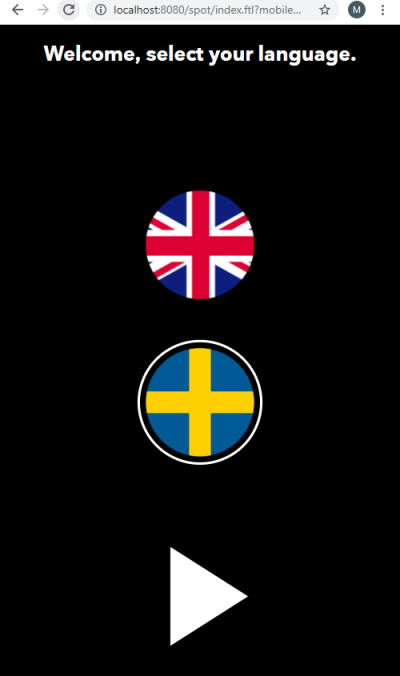
On the Visitor Spot, select your preferred language and then confirm with the play button.
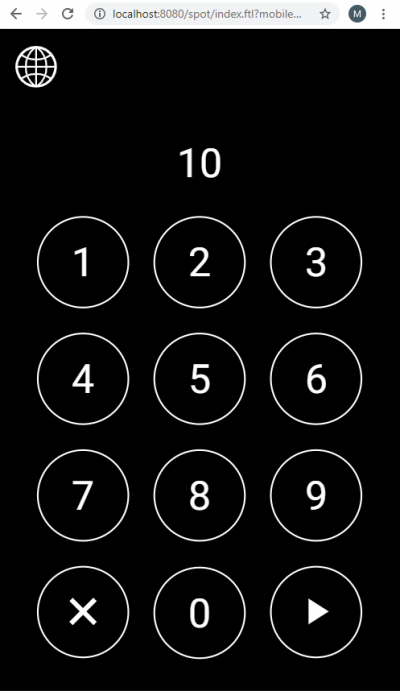
Enter number 10 on the numeric locator keypad. Confirm with the play button.
The Display Spot should now play a short video about Blocks.
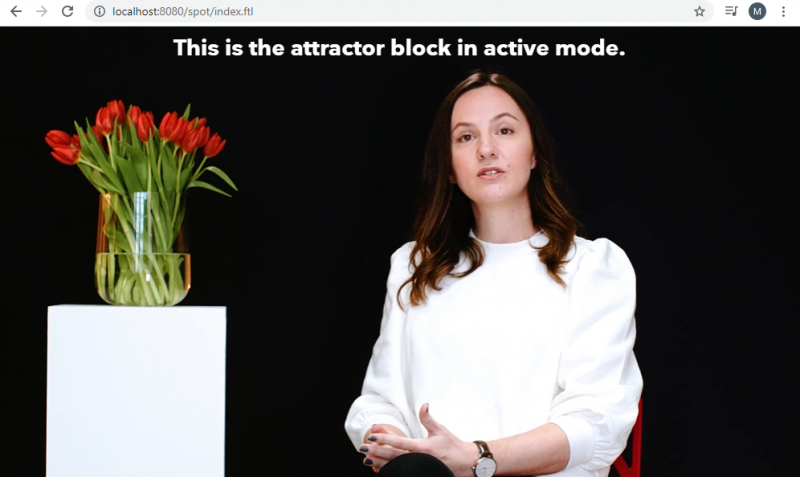
The Visitor Spot should play the audio in your selected language, synchronized to the video.
Location Spot
Return to the Locator’s number pad, enter 40 instead. This uses a Location spot – mainly used to display and play content associated with a physical location or object using a Locator.
How does it work
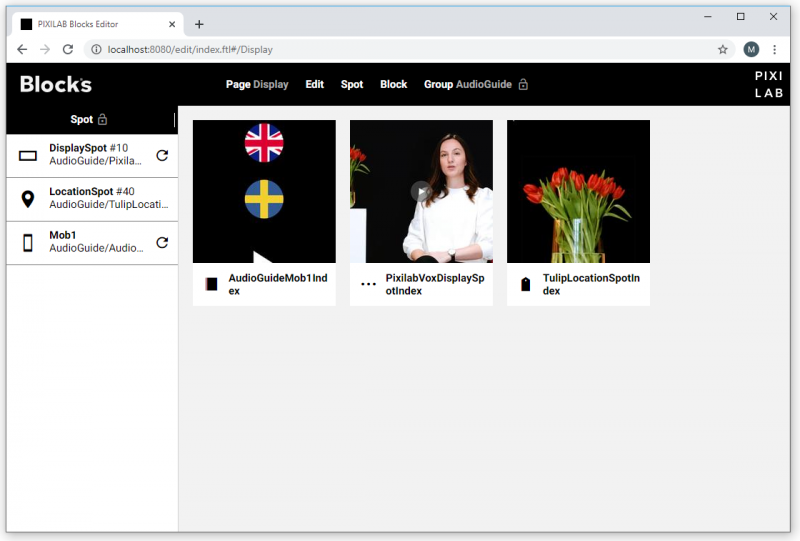
Open the editor, the AudioGuide group and spot setup should look like in this screenshot.
Edit the AudioGuideMob1Index block. As you can see the root block is a book with two pages. The Language page is the interface for language selection. Double-click this page to see it is children. The headline is a Slideshow alternating the text in both languages. SweBtn and EngBtn is buttons that can set a local tag depending on selected language. The button applies the invisible CSS class. This class is defined in the CSS file specified in the root block. The button's binding applies a local tag to eng of the set consisting of eng, swe. The set specification is required to automatically remove any old tag of this set existing previously when applying the new tag.
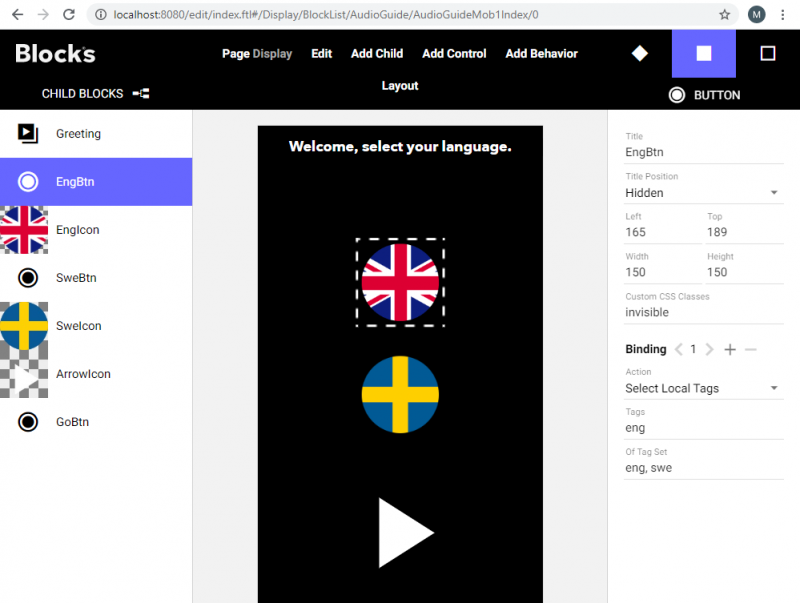
The GoBtn is configured to "Go to Local Block" with target ../Locator, changing the page to show the Locator.
Now look at the Locator page in the same book. There is a button called LangBtn returning to the language selection page again. The Locator is the child used to locate content based on Location ID. It's set to "Auto-close when Playback Stops" and the "Back Button" is set to "Close Location".

In the Spot list of the Blocks editor, you can see the Location ID applied to any Spot Group, Display or Location Spot (e.g., DisplaySpot #10 indicates a Location ID of 10).
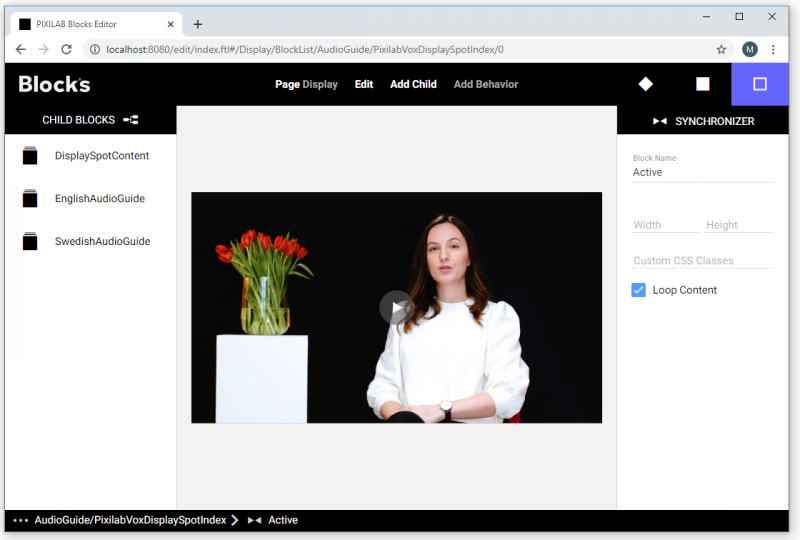
Now return to the overview and edit the PixilabVoxDisplaySpotIndex block to see how is is structured. The root block is an Attractor, displaying an "attract loop", such as how-to-use instructions while in its passive state. It will switch to its active state when interacted with (in this case located to). This is somewhat similar to a computer's screen saver. The first child in an attractor is the active block. Here it's a Synchronizer. The second (or any additional blocks) appear while in the passive state.
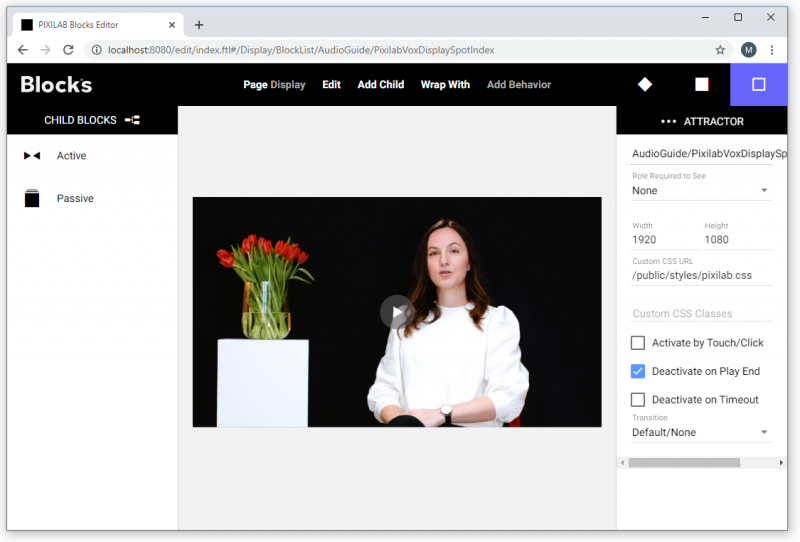
The Synchronizer provides synchronisation for media contained or nested inside it (possible further down in its block hierarchy). The Synchronizer discriminates on tags just like the Tag Selector, so we can have three child blocks in the Synchronizer with different tags. The first child is a composition called DisplaySpotContent with the tag displayspot. The same tag is applied to the display spot called DisplaySpot. The other two children, EnglishAudioGuide and SwedishAudioGuide are compositions with the corresponding language tags plus the mobile tag – also applied to the "Mob1" Visitor Spot.
The desired language tag is applied to the visitor spot as a local tag by the buttons used for language selection mentioned earlier in this article.
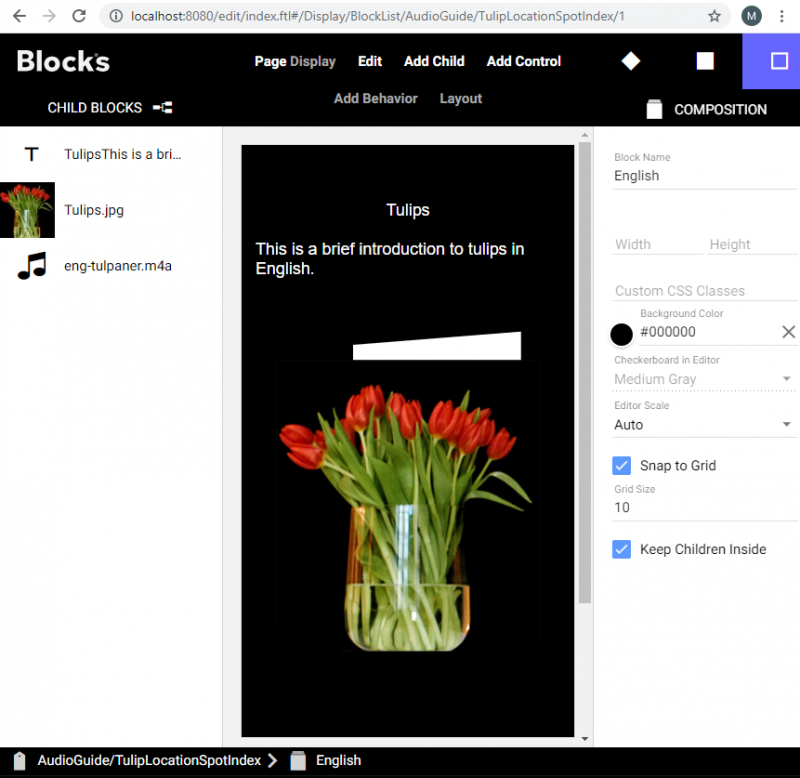
Finally, double-click the TulipLocationSpotIndex block to see how it is structured. The root block is a Tag Selector with two compositions inside – one per language. They have the eng respective swe tags applied and an audio file and some text inside. Those tags select the most appropriate content based on the selected language. As a side note, a Tag Selector can be used for many other applications and scenarios – with language selection being just one use case.
Now you try
Build a similar setup with a Synchronizer, language selection and some of you own content. You may want to check the Blocks manual to learn what the various block settings do.
This application also has a QR code that can be used to locate with a QR code scanner. Another application note goes into more details how to use a Zebra EC30, with its built in QR/bar code scanner.