Creating a Server
This is a brief summary of the steps you need to perform, as outlined in this document.
- Download the server installer disk image (.img) file.
- Download Etcher for your computer (Mac or Windows).
- Use Etcher to create a bootable USB stick from the .img file downloaded in step 1.
- Boot a suitable computer, to be used as the server, from that USB stick and run an installation wizard to copy the required software onto the server.
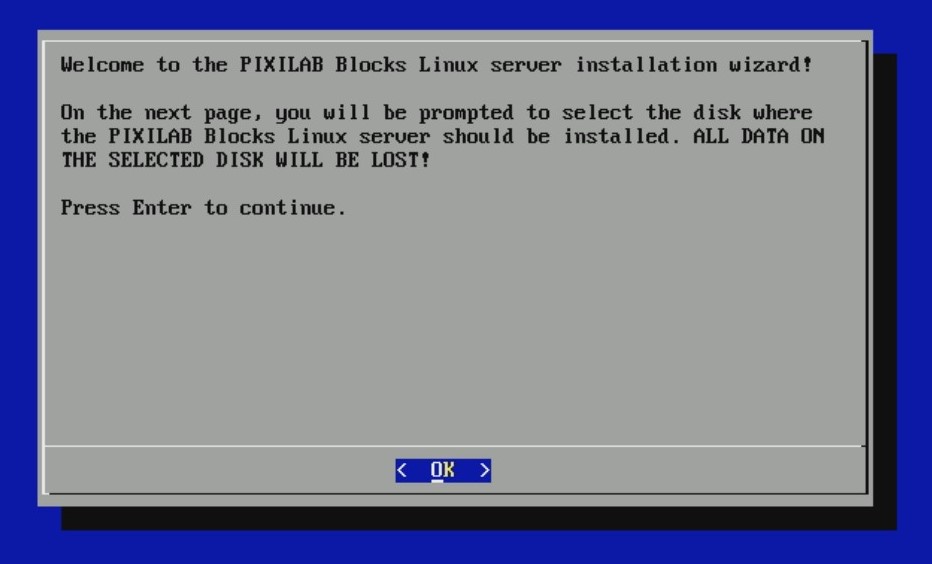
The installer interface should appear on screen momentarily, as shown below.
Installing the Server
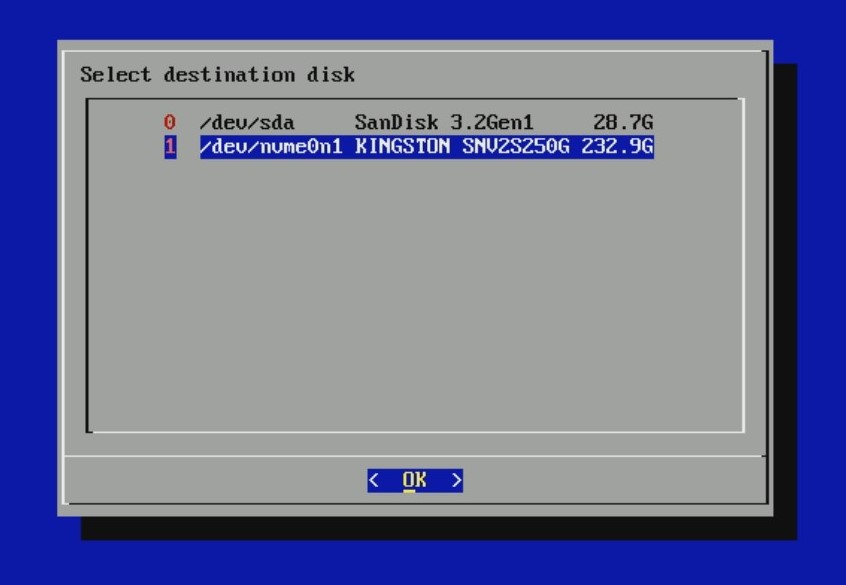
After observing the message on the first page of the installation wizard, press Enter to continue. You will now be prompted to select the disk where the PIXILAB Blocks Linux server should be installed. Use the arrow keys to change the selection and press Enter to continue. Make sure to not select the USB stick that you booted from.
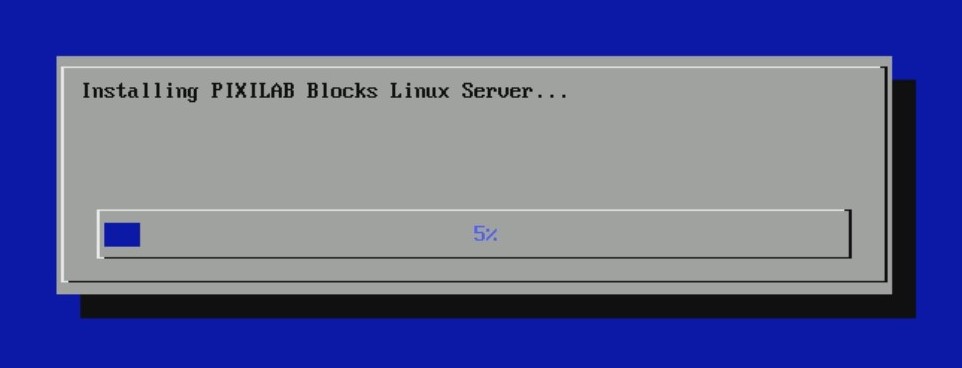
Once you have selected the destination disk, the installation process will begin. A progress bar is displayed, indicating the progress of the installation operation, which may take several minutes depending on the speed of the computer, the hard drive etc.
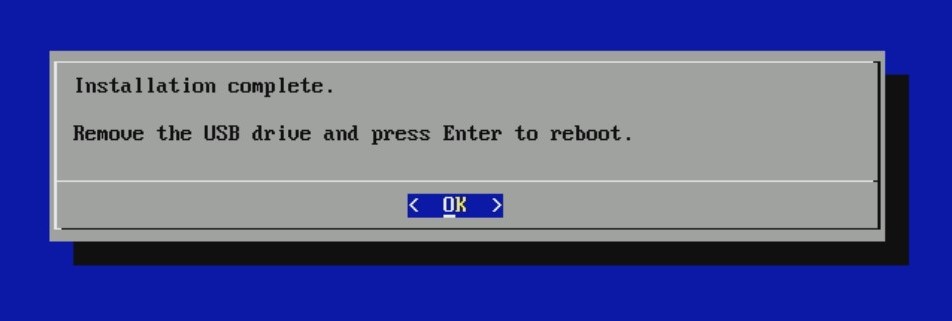
If all goes well, a final message will be displayed, prompting you to disconnect the USB stick and reboot the server. If the server doesn't reboot automatically after pressing Enter, you can manually power it off and on again using the physical power button.
 NOTE: If the server fails to boot after the imaging procedure concludes, you may need to return to the BIOS settings to select the internal drive as the boot disk.
Next Step
To configure the server, please continue with the First Start article.