Installing Blocks on MacOS
Macs are available with either "Apple Silicon" or "Intel" processors. There's a separate download for each of those platforms. Start by downloading the corresponding installer:
- Download for "Apple Silicon" Macs.
- Download for "Intel" Macs.
Double-click the downloaded disk image file to open it, then drag the "PIXILAB Blocks" application to your Applications folder.
Installing the License Key Software
If you’re installing Blocks for the first time on this computer, you also need to install the license key software. When upgrading Blocks from an older version, you may already have this software installed, in which case you can skip this step and proceed to Starting Blocks below.
To install this software, double-click the CmInstall.pkg file and follow the instructions.

Installing Google Chrome
Some internal functions in Blocks, such as the thumbnail generation for some block types, require Google Chrome (or its open-source Chromium sibling) to be available in the Application folder on your Mac. If not found, a message to that effect will appear when you start Blocks. If so, go ahead and install Chrome or Chromium.
 NOTE: You don't have to use Chrome to access Blocks, but can keep Safari (or some other browser of your choice) as your primary browser, if desired.
Starting Blocks
Connect the USB license key (or apply any cloud-based license credentials as instructed). Doubleclick the “PIXILAB Blocks” application in your Applications folder to start Blocks. Blocks should start, showing this window:
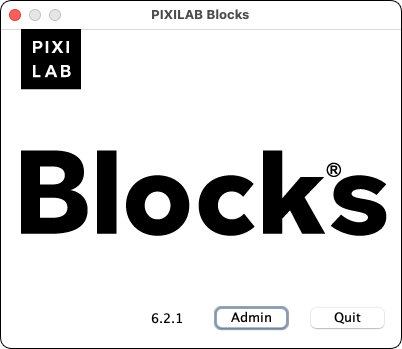
If you instead get message indicating a "License Failure", make sure your license key is connected (or the credential file has been installed), then restart your Mac and try again.
Once Blocks has started, click the “Admin” button in the PIXILAB Blocks window to open a web browser to access Blocks. The default user name is admin and the password is pixi.
Remember to change the admin user’s password before making Blocks accessible to others.