Network Camera
This application note describes the setup Network camera and configuration of a live vide block to show a rtsp feed from the camera.
In this example we use the Axis M2025-LE, a small form factor bullet style camera of reasonable price and high quality.
Camera configuration
Most camera manufacturers deliver their cameras preconfigured to use dhcp to get a IP address at first start. Some or most of them also has a static predefined IP address that can be found in the camera documentation.
For this application note I use the manufacturers IPUtility to find out the IP address of the camera. This tool has also the ability to change the IP address to the one you desire.
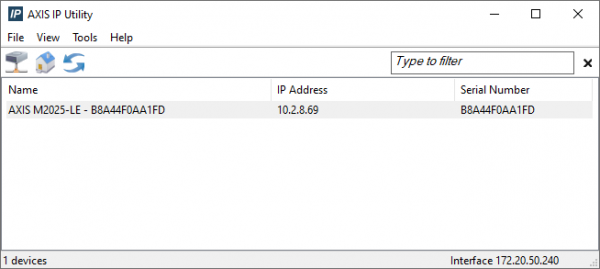
Next step is to log in to the cameras build in webserver and conduct the initial setup by following a setup wizard.
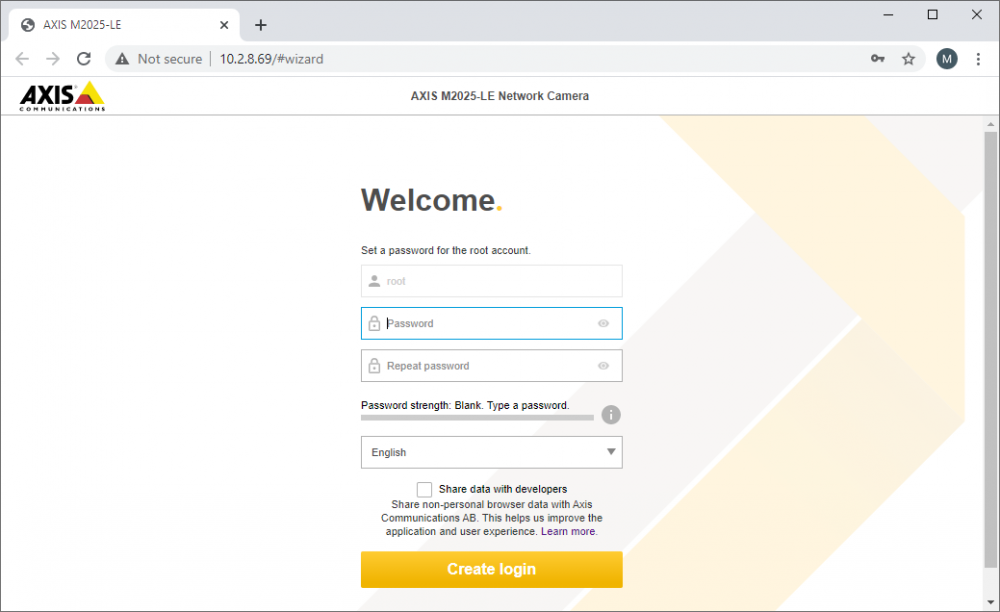
First thing is to set the root user password.
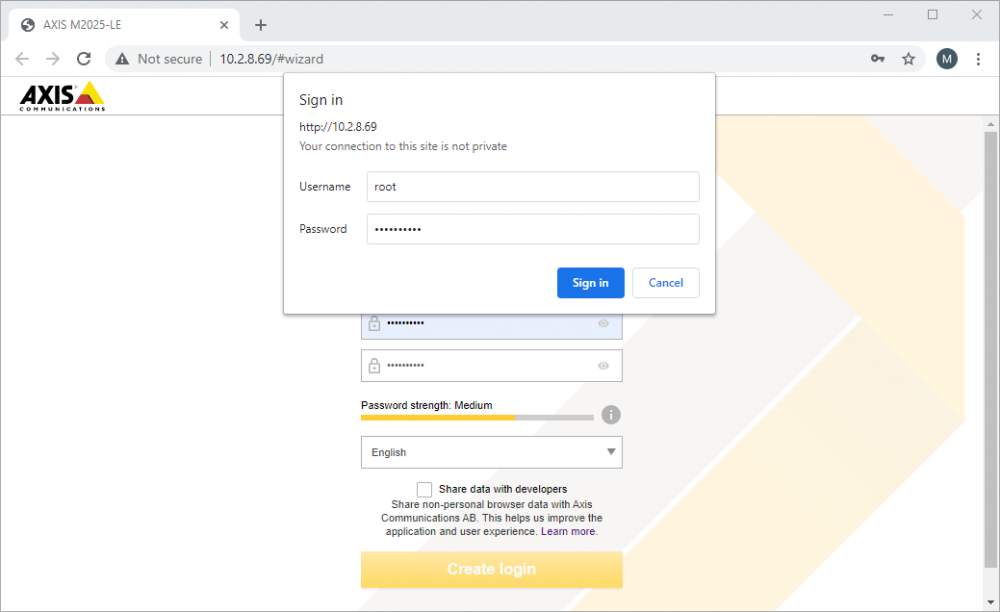
As soon as the root user is set you will have to login using the root credentials.
You will now see setup wizard. First there is a power line frequency setting, i am in Europe so I choose 50Hz while our American and perhaps some Asian friends would go for 60Hz.
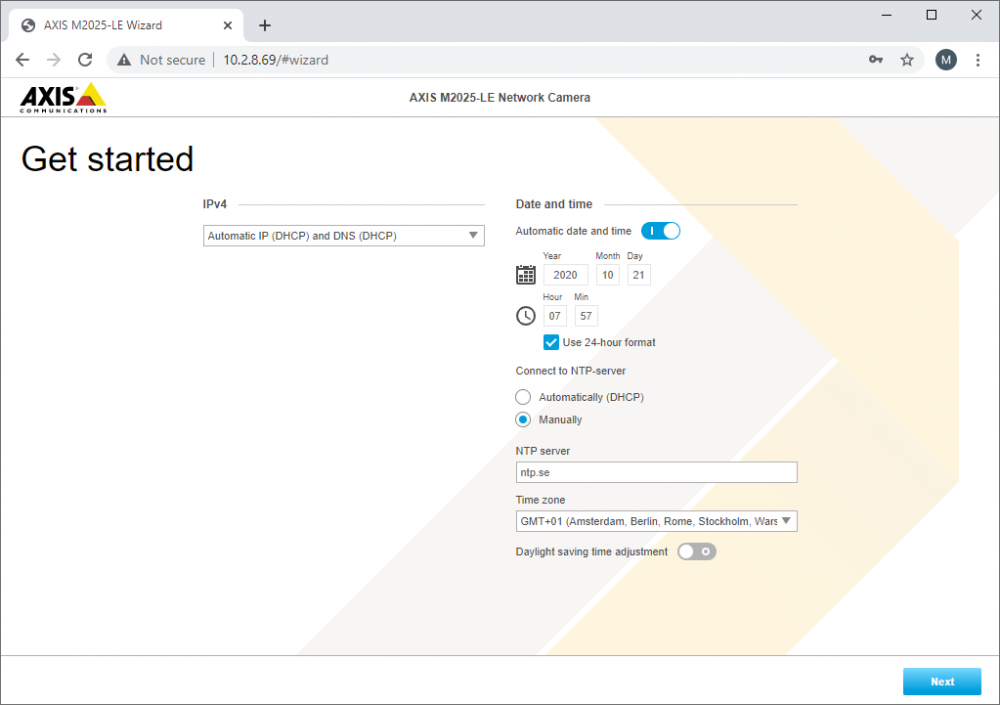
The next step is the IP and time settings. I would leave it as DHCP even though most often a fixed IP is required for such devices, it is probably best to assign a fixed IP from the DHCP server.
The final step is about layout and lining up the camera itself, i just leave that as default and click done.
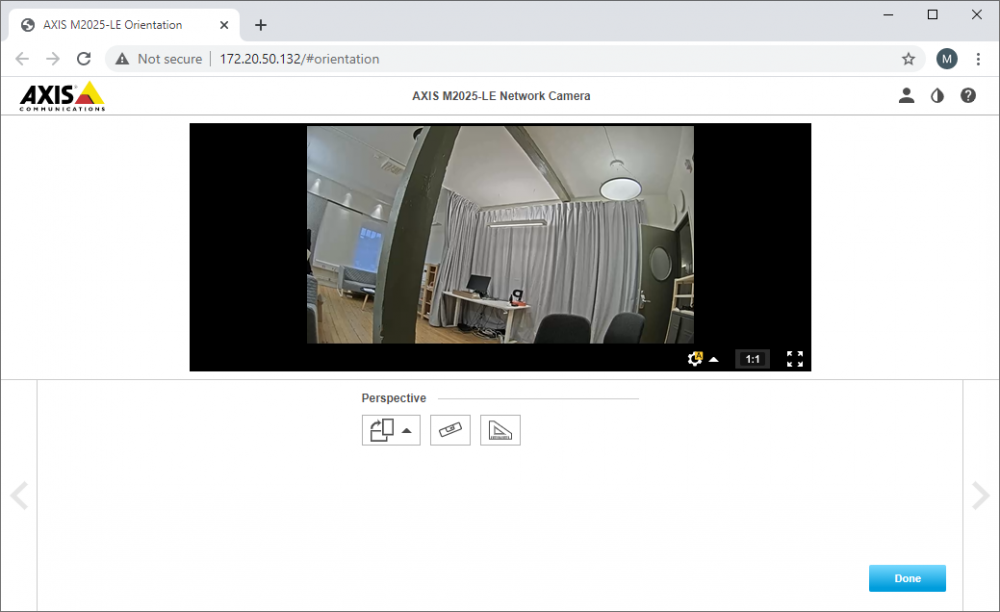
Initial setup is now done, and you can see the administrator panel.
I will not bother to much with setting up masks and fiddle with any video settings, I just leave it as default.
 Finally but not least important, create a user that does not have administrator rights.
In the Axis case, they have defined a user permission group called Viewer, that can see the feeds but cannot change any settings on the camera.
Finally but not least important, create a user that does not have administrator rights.
In the Axis case, they have defined a user permission group called Viewer, that can see the feeds but cannot change any settings on the camera.

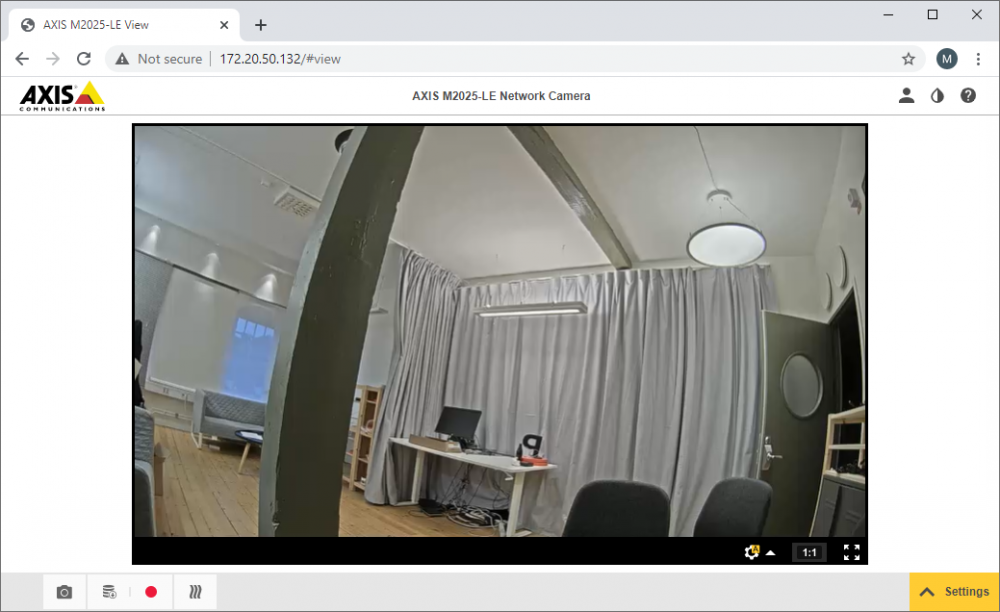
The camera is now ready to be used by Blocks!
Installation
First follow this general setup. Use this PIXILAB-Blocks-root, which contains all you need for this application note. Once that is done, follow these steps:
- Start Blocks.
- Open the editor using the Admin button.
- Log in using the name admin and the password pixi.
- Open a second browser window and type in the URL: http://localhost:8080/spot/. If this fails, you may be using a different port on your system. Check the URL bar of the editor window opened before to find the correct port number.
- Locate the main display in the editor, double-click it and reassign it to the ID shown in the test spot window opened in the previous step.
Setup the Live Video block
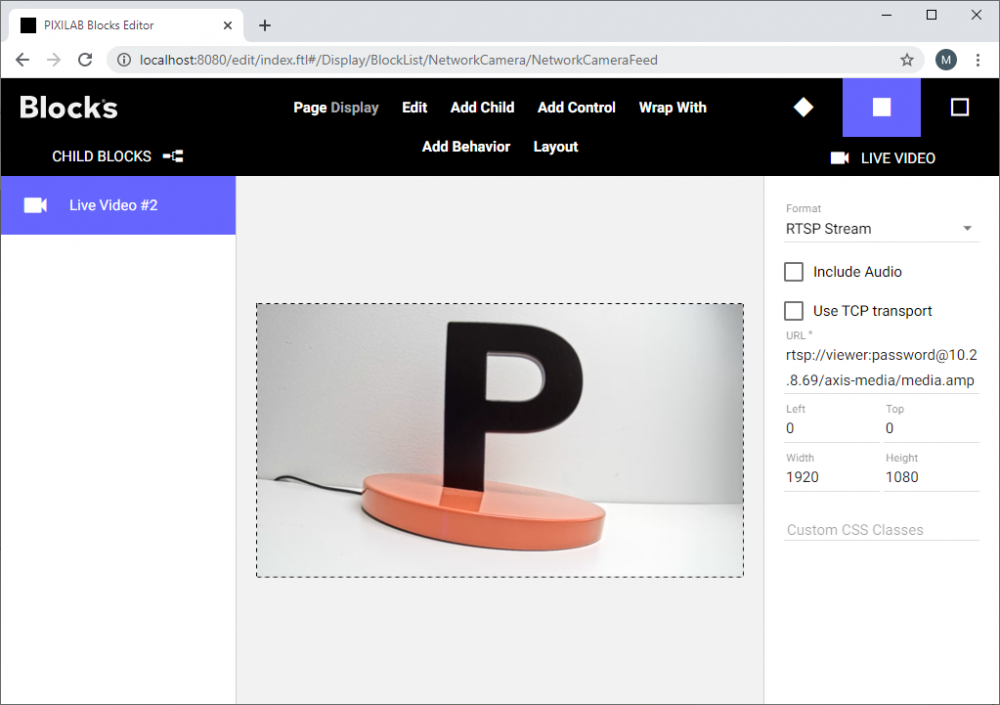
Create a composition with a live video block inside. Edit the live video block.
Select RTSP Stream as format.
Use the URL format specified in the manufacturers documentation. In the case of Axis M20205-LT that is:
rtsp://user:password@10.2.8.69/axis-media/media.amp
If you are using a computer where autoplay is not allowed you may have to untick the Include Audio check box to be able to see the stream in the editor.
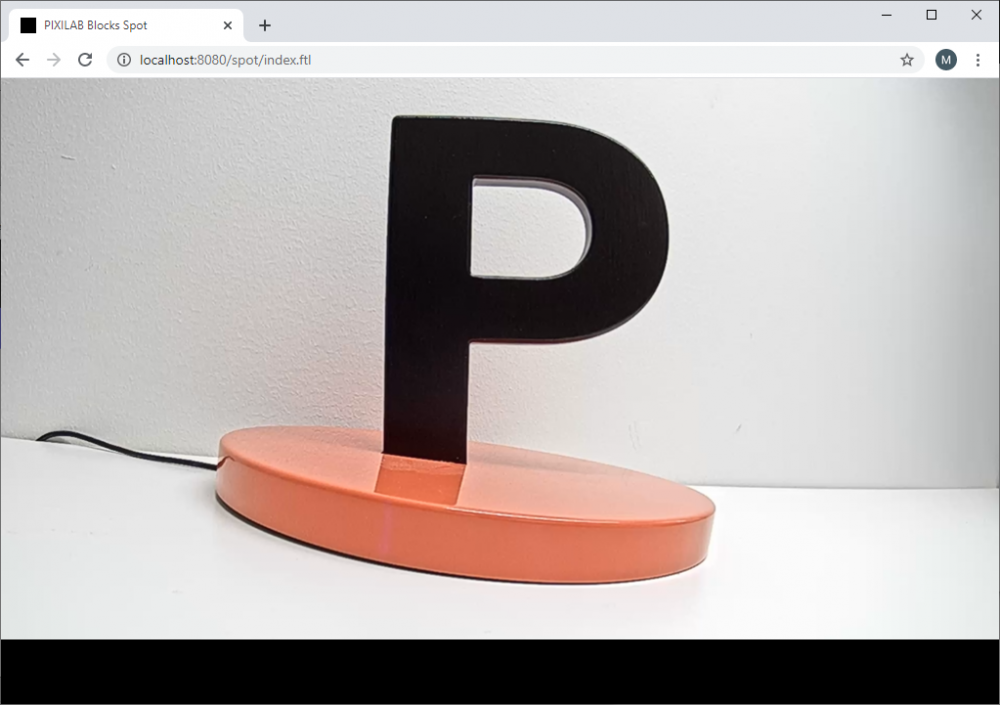
The DisplaySpot will look like this:
More about live video
Please check the live video documentation in the manual that can be found here.