Keycloak
Here's a video showing how SSO based on Keycloak can be used.
- Install, configure and run Keycloak: https://www.keycloak.org/getting-started/getting-started-zip
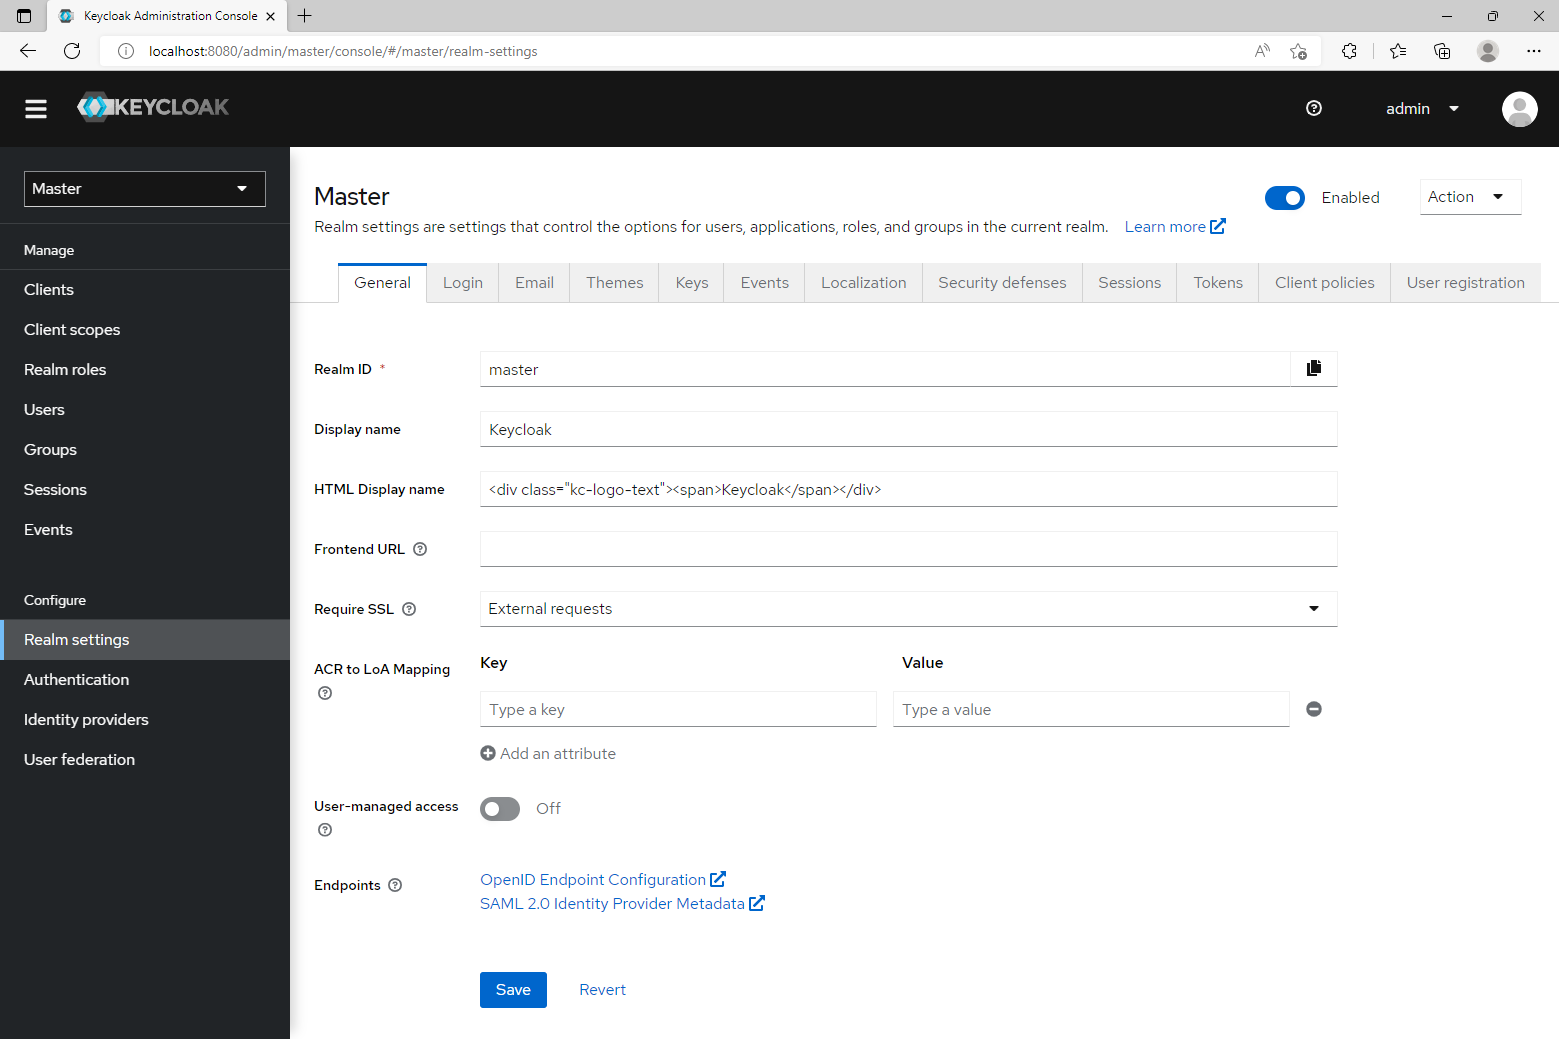
- Login to the admin pages of Keycloak.
- Click the "Clients" button in the sidebar menu and add a new client by clicking the "Create client" button.
- Give it an ID and select "OpenID Connect" as the Client Type.
- On the next screen, turn on Client authentication, click Next and then click Save.
- On the settings page of your new client, add "http://[BLOCKS-IP-OR-DOMAIN]/rest/auth/*" as a "Valid Redirect URI" and add "http://[BLOCKS-IP-OR-DOMAIN]/edit/*" as a valid "Valid post logout redirect URI". Save your changes.
- Select the "Credentials" tab at the top of your client settings page and note the "Client secret" for use as [CLIENT-SECRET] in step 1 of the Blocks specific section below.
- Click the "Realm roles" button in the sidebar menu. Click the "Create role" button and add the role "Admin". Repeat the process until you end up with the following roles listed:
- Admin
- Manager
- Creator
- Editor
- Contributor
- Staff
- Click the "Users" button in the sidebar menu. Click the "Add user" button and add your first user. On the edit page for the newly created user, select the "Role mapping" tab at the top and assign the roles you want this user to have. You may need to change the filter from "Filter by clients" to "Filter by realm roles" to see the roles.
- Select the "Credentials" tab at the top to create a password for the user.
Blocks specific steps
- Open your Blocks configuration file on your Blocks server and add the "auth" section below to the already existing "server" section. Replace the values of [BLOCKS-IP], [KEYCLOAK-IP], [REALM-NAME], [CLIENT-ID] and [CLIENT-SECRET]. If you didn't configure your own realm for your users, [REALM-NAME] is the default "master" realm. [CLIENT-ID] is the name of the client from step 4 in the section above.
server:
  type: pixilab_server
  auth:
    urlResolver: null
    ajaxRequestResolver: null
    callbackUrl: http://[BLOCKS-IP-OR-DOMAIN]/rest/auth/callback
    rolesOwner: claims
    rolesPath: realm_access.roles
    clients:
      - org.pac4j.oidc.client.OidcClient:
          configuration:
            discoveryURI: https://[KEYCLOAK-IP]/realms/[REALM-NAME]/.well-known/openid-configuration
            clientId: [CLIENT-ID]
            secret: [CLIENT-SECRET]
            clientAuthenticationMethod: client_secret_basic
            scope: openid profile
    servlet:
      security:
        - matchers: internalMatcher
          clients: OidcClient
          authorizers: isAuthenticated
- Start Blocks and go to "/edit" for login.
Role Mapping
If the roles you've added to Keycloak does not match the roles used by blocks, or if you have set up roles on Keycloak already and would like to re-use them, you can add role mapping to the Blocks configuration file. You do this by defining a server.auth.rolesMapping parameter where the keys are the roles of your Keycloak configuration and the values the roles Blocks know about. For example:
rolesMapping:
  KeycloakAdmin: Admin
  KeycloakManager: Manager
  KeycloakCreator: Creator
  KeycloakEditor: Editor
  KeycloakContributor: Contributor
  KeycloakStaff: Staff