This is an old revision of the document!
Creating a Blocks Server
This is a brief summary of the steps.
- Download the server installer disk image (.img) file.
- Download Etcher for your own computer.
- Use Etcher to create a bootable USB stick from the .img file downloaded in step 1.
- Boot a suitable computer, to be used as the server, from that USB stick and run an installation wizard to copy the required software onto the server.
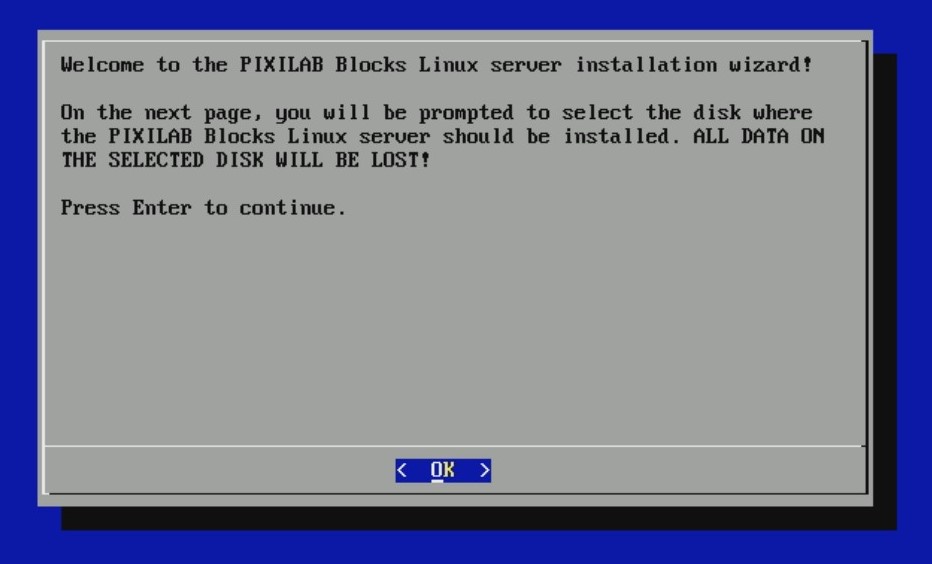
The installer interface should appear on screen momentarily, as shown below. If not, you need to go into the BIOS settings of the target computer and select its "Boot from USB drive" option.
Installing the Server
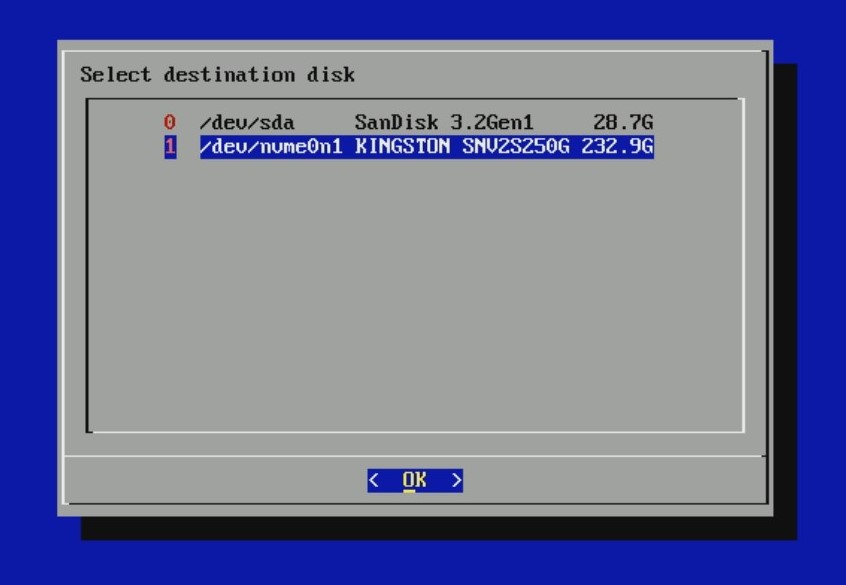
After observing the message on the first page of the installation wizard, press Enter to continue. You will now be prompted to select the disk where the PIXILAB Blocks Linux server should be installed. Use the arrow keys to change the selection and press Enter to continue. Do not select the USB stick that you booted from.
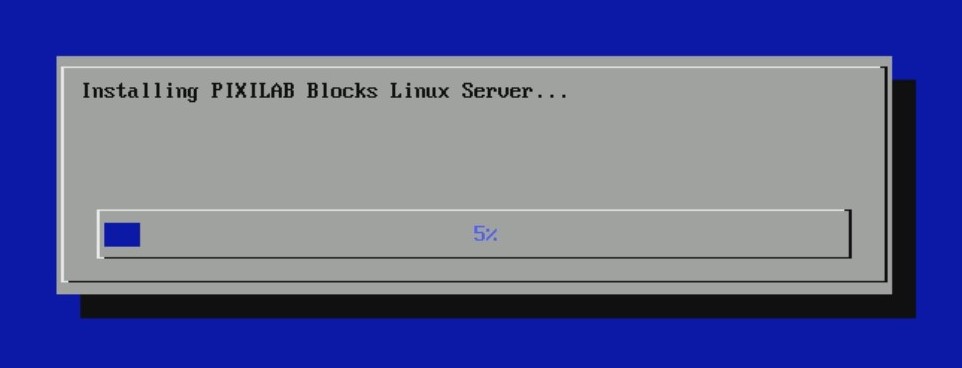
Once you have selected the destination disk, the installation process will begin. A progress bar is displayed, indicating the progress of the installation operation, which may take several minutes depending on the speed of the computer, the hard drive etc.
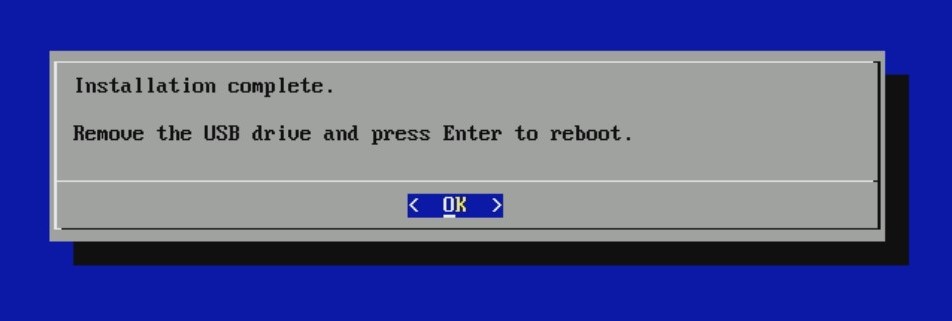
If all goes well, a final message will be displayed, prompting you to disconnect the USB stick and reboot the server. If the server doesn't reboot automatically after pressing Enter, you can manually power it off and on again using the physical power button.
 If the server fails to boot after the imaging procedure concludes, you may need to return to the BIOS settings to select the internal drive as the boot disk.
Configuring the OS
Once the computer boots up, connect it to your network with internet access then open a terminal window and type the following commands into it one by one:
su pixi-admin
sudo apt-get install --reinstall snapd
Enter the pixi-admin user's password when requested (the default password is pixi ). This command configures the operating system in a way that corresponds to the specific hardware of your server, which may not match the hardware the server image was made on.
You may also want to update the operating system at this point with the latest version of all components. To do so, type the following into the command prompt while logged in as the pixi-admin user:
sudo apt update
sudo apt upgrade
Enter password when required and answer any questions that may appear
Next Step
To configure your server, please continue with the First Start article.