This is an old revision of the document!
DNS Server
The procedure for configuring and enabling the DNS server is similar to the one used for the DHCP server above. Start by selecting "BIND DNS Server" under "Servers" in the list on the left hand side. This displays a window with a number of buttons at the top. Scroll down a bit a locate the rectangle named "pixi.guide".
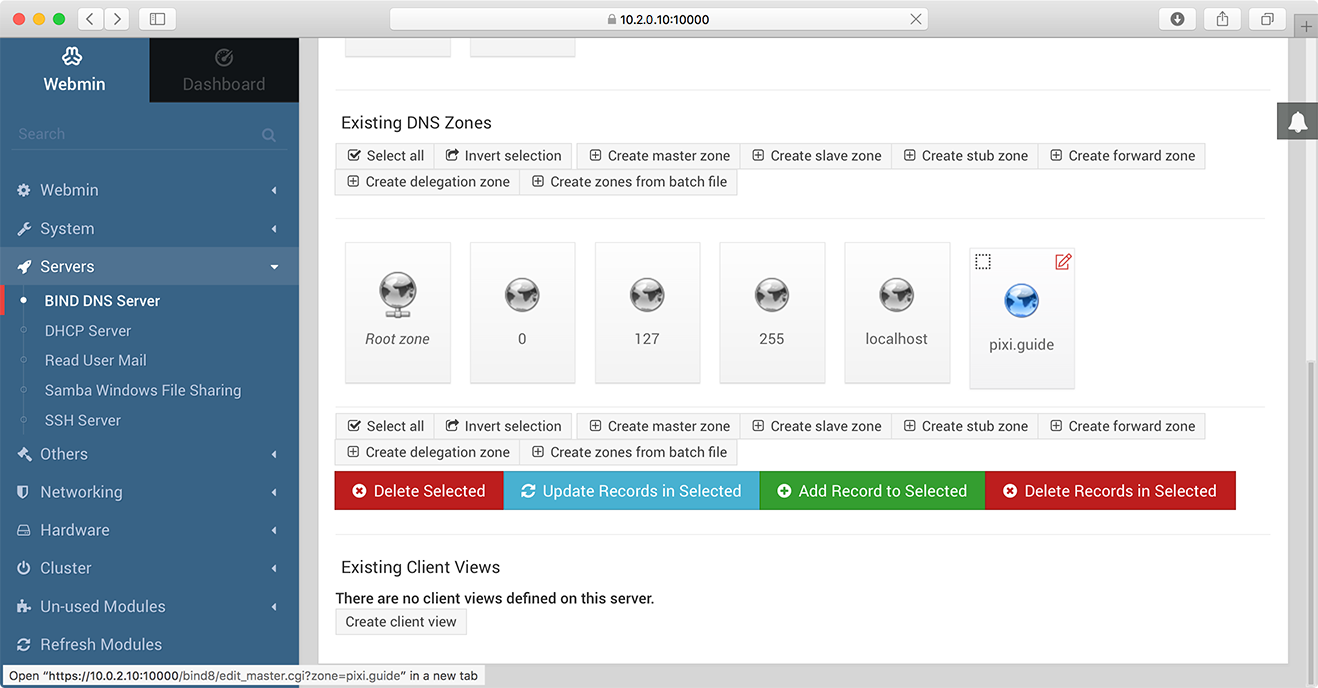
Click the red pen symbol in the top right hand corner of this rectangle. This opens the "Edit Master Zone" window shown below. Here, click the "Addresses" button.
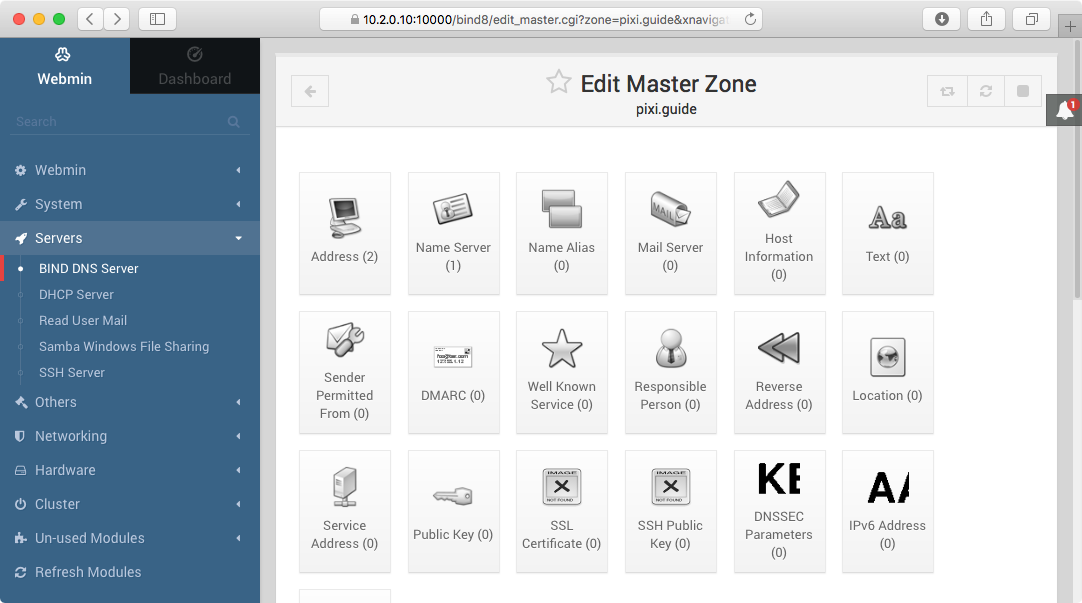
The next window lists all name-to-address bindings.
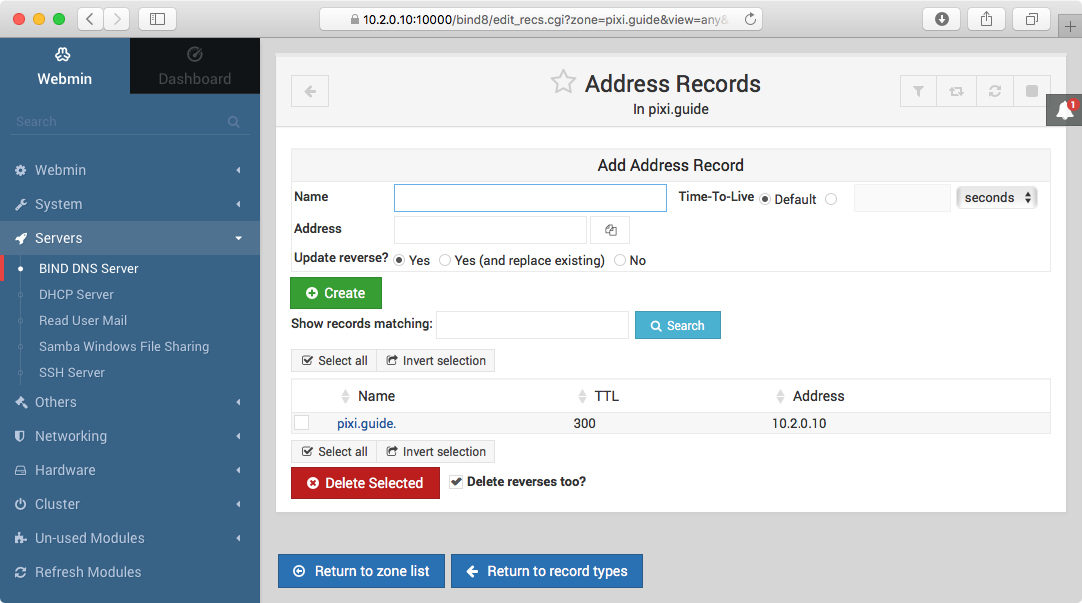
The name "pixi.guide" is pre-configured pointing to the IP address of the BLOCKS server (here assuming that the server is configured as set up in the First Start article). If you use a different address for the server on your network, it must be changed accordingly here.
 There's also an alias (CNAME) record named "int.pixi.guide" that points back to "pixi.guide", which is used in some cases and should be left in place.
As a side note, the name given to the server (here "pixi.guide") is somewhat arbitrary. Since this DNS server applies only to your internal network, and isn't visible on the Internet, you can choose any valid domain name you want. However, PIXILAB recommends that you go with the "pixi.guide" name for the following reasons:
- It's the name we will use for any services and applications that need to access the server on your local network.
- It exists also as a real domain on the Internet, informing any visitors that they need to select your local wifi before they can access your mobile guide.
The second point above is important if you provide guide functionality for your visitors using their own mobile devices. Such guide functionality is then typically accessed by first choosing your local wifi network provided for this purpose, then accessing the server using an easy-to-remember name (here "pixi.guide"). If your visitors overlook the need to first choose your local wifi network, and just enter the name into their browser, they may only get a cryptic error message if there's nothing responding to that name. By also having an Internet server responding to the name, your visitors will instead get a meaningful message, telling them what to do.
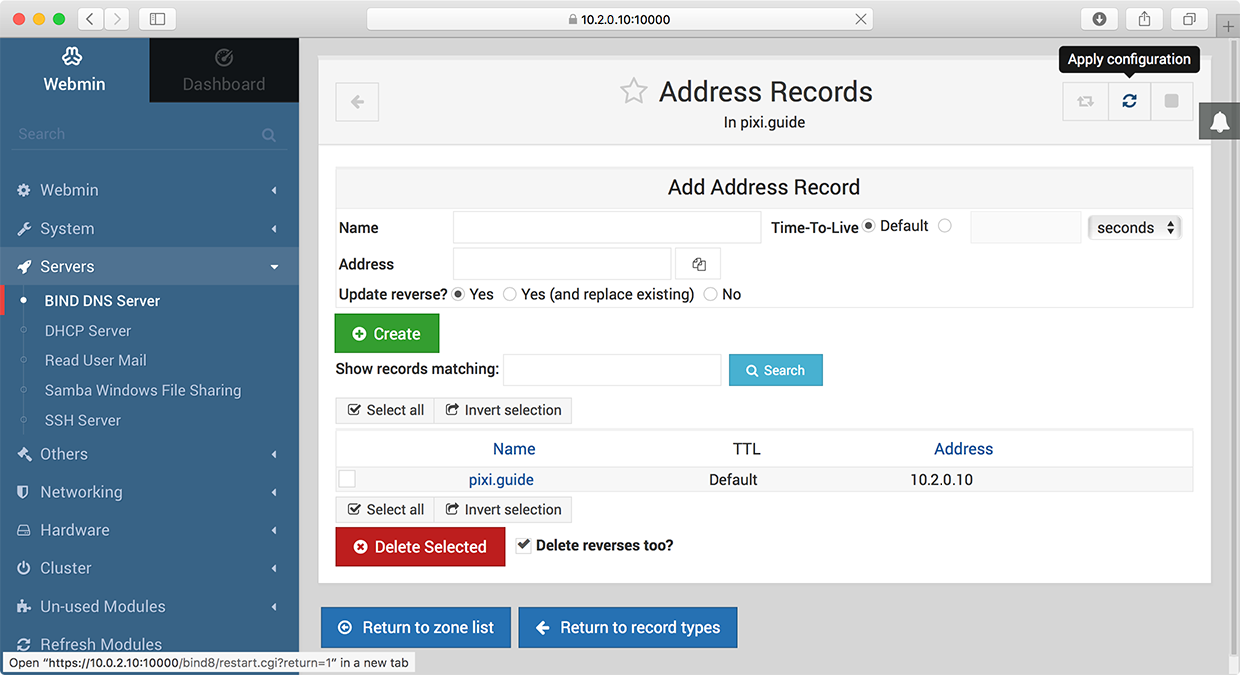
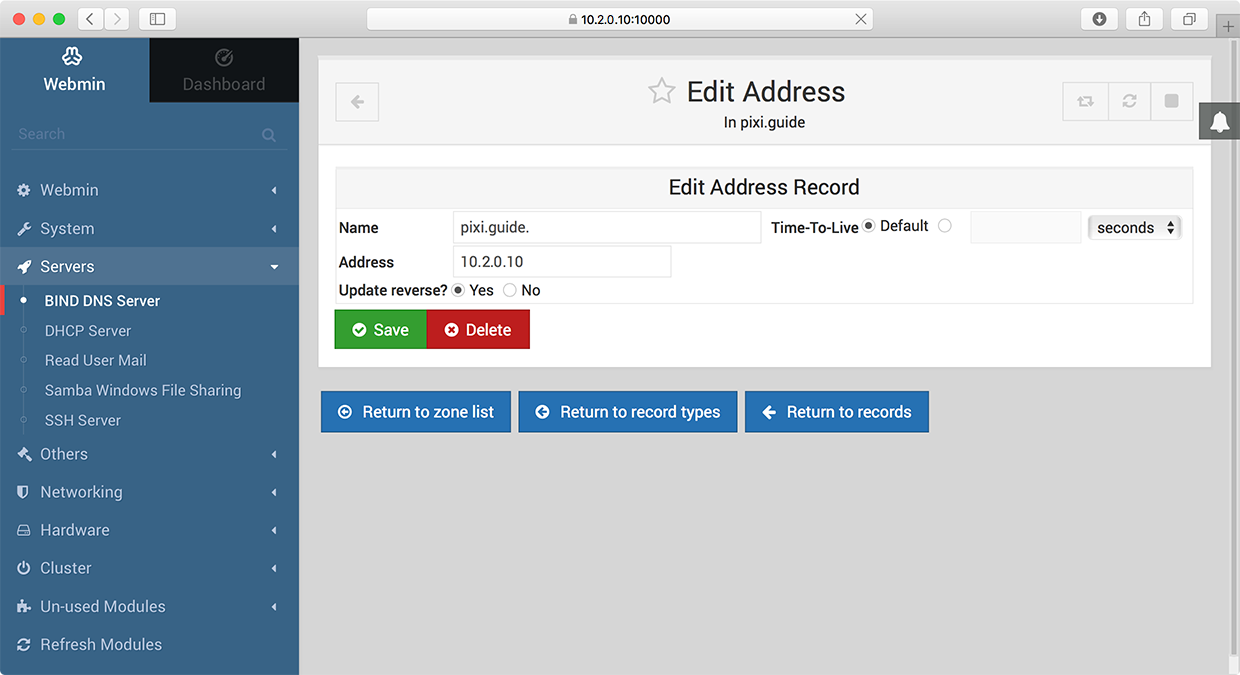
If you need to change the addess of the server, click the server name (shown in blue on the previous illustration). This opens the window shown below. Here, change the address as appropriate and click Save.
If you make any changes to the DNS server while it is running, click the "Apply Configuration" button shown in the top, right hand corner.