DHCP and DNS server
Your linux based Blocks server comes with software letting it can act as a DHCP and/or DNS server for your local network. A DHCP server provides automatic addressing to PIXILAB Player and other network devices set to use automatic addressing. The DNS allows for local name resolution, such as resolving the doman name pixi.guide to the IP address of your server. Using service names rather than raw IP addresses makes it easier to change addressing in the future and is also required for some advanced functions, such as encrypted connections (HTTPS).
 IMPORTANT: In general, is a bad idea to have more than one DHCP server on a LAN. f you're connecting Blocks to an already existing network, check with the network administrator before enabling these services on your Blocks server.
Configuration
The dnsmasq system service comes bundled with our Linux-based server. Like all other optional services it is disabled by default. Before enabling it you must configure it as desired. This can be done either using the webmin graphical user interface or directly in the terminal. in either case, the configuration file is located at /etc/dnsmasq.d/pixilab.conf.
To edit the configuration using webmin, first make sure that webmin is enabled and working. Then select Tools / Custom Commands in the Webmin menu on the left.
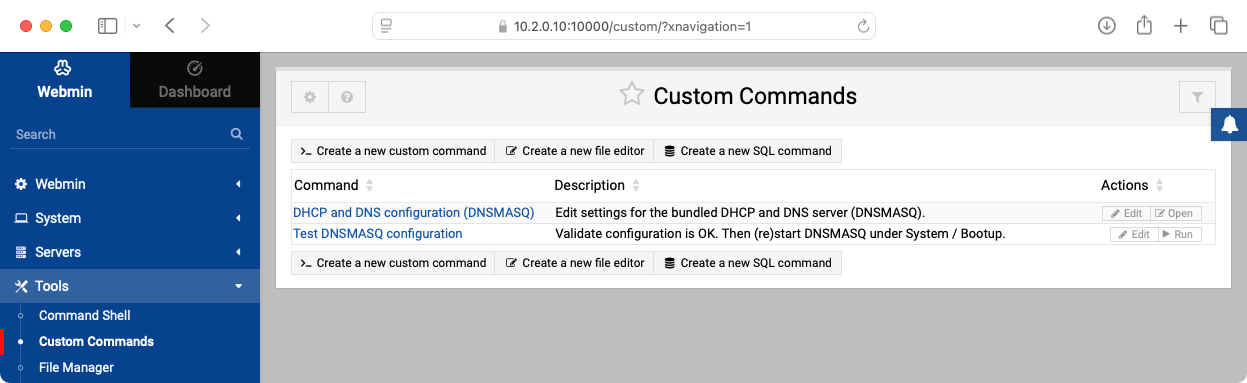
Select the "DHCP and DNS configuration (DNSMASQ)" command to edit the configuration.
# PIXILAB Blocks server dnsmasq config

#################################################
# DNS Configuration

# Resolve domain name pixi.guide to specified IP address
address=/pixi.guide/10.2.0.10

# Upstreams dns servers, can be inherited from system nework config
# by specifying 'resolv-file' or hardcoded by setting 'server' to the
# desired upstream DNS server IP address
resolv-file=/run/systemd/resolve/stub-resolv.conf
#server=8.8.8.8

#################################################
# DHCP configuration

# Listen for requests on this network interface
interface=eno1

# DHCP pool range and lease time
dhcp-range=10.2.5.1,10.2.10.254,12h

# Additional Settings and "Client options"
dhcp-option=option:netmask, 255.255.0.0
dhcp-option=option:dns-server, 10.2.0.10
dhcp-option=option:router, 10.2.0.1
#dhcp-option=option:ntp-server, 1.2.3.4

# Persist leases to this file. This strives to give the same address to a device after reboot
dhcp-leasefile=/var/lib/misc/dnsmasq.leases

# Make this dhcp server authoritive (the only dhcp server exixting on the LAN)
dhcp-authoritative

# Add static leases below, assigning specified DHCP clients' MAC
# addresses to fixed IP addresses within the DHCP pool range
#dhcp-host=aa.bb.cc.dd.ee,10.2.10.200
The example above shows some default settings suitable for a stand-alone Blocks system. Lines beginning with a hash sign (#) are comments or commented-out settings, ignored by the dnsmasq program. Edit relevant entries as required:
- address=/pixi.guide/10.2.0.10 creates a DNS entry binding the pixi.guide domain name to the specified address.
- interface=eno1 specifies which network interface to bind the DHCP/DNS service to. Verify that the name specified here matches the correct network interface on your server using the ip a command from within a terminal window to list all interfaces.
- dhcp-range=10.2.5.1,10.2.10.254,12h specifies the range of dynamically assigned IP addresses, and their "lease time". The range shown in the example above is appropriate for the default server IP address 10.2.0.10 with netmask 255.255.0.0 (a class-B internal network). Adjust this as appropriate if you use another server address and/or netmask.
- dhcp-option=option. The netmask, dns-server and router options are passed on to DHCP clients to set those values automatically. The netmask and dns-server options must match your server's wired network settings.
Other settings may be configured or added as desired.
Click the "Save and close" at the bottom of the page once you're done. Select "Test DNSMASQ configuration" to validate your configuration file. If any errors are reported, you must go back and fix those before proceeding.
Starting
To use the DHCP/DNS server with your configuration, do as follows:
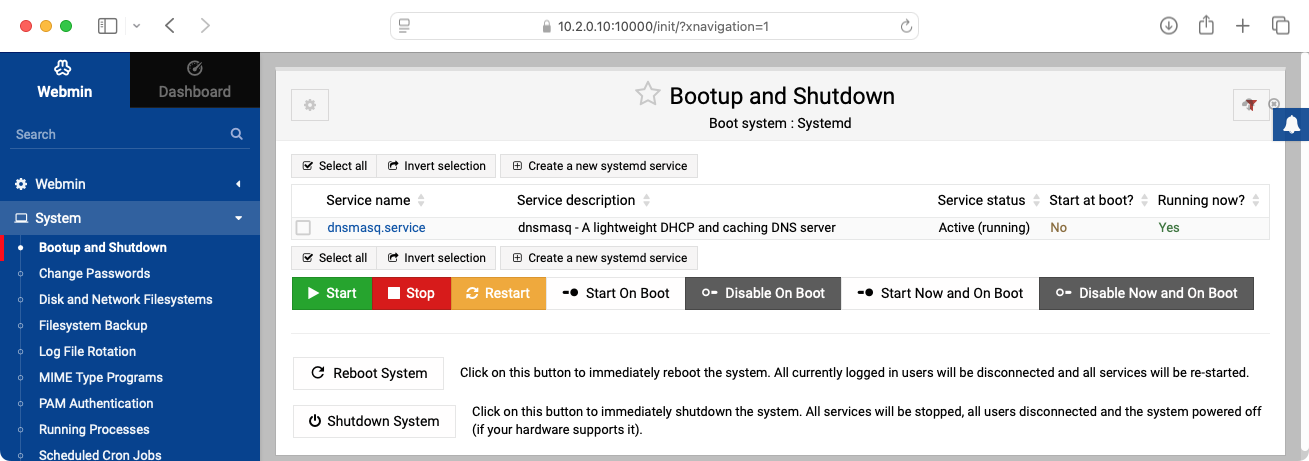
- In Webmin, select System / Bootup and Shutdown in the main menu on the left hand side.
- Click the small funnel icon in the rop right hand corner and type dnsmasq to filter the list.
- Click the checkbox next to dnsmasq-service.
- If the server was already running (as indicated by a "Yes" in the right hand column under "Running Now" then click Restart.
- If not running, click "Start Now and on Boot" instead.
Connect a network switch to your Blocks server and connect another computer (e.g. a Mac or Windows laptop) to that same switch. Make sure the switch is not connected to your office network, thus forming a small stand-alone network of only your Blocks server and the laptop. Assuming that the laptop is set to configure its network automatically, it should be assigned an IP address shortly, This may take up to about a minute since there's no internet connection through your switch at this point. Successful network connection should then be indicated by your laptop, for example by a green dot next to the interface name in Network Settings under macOS.