PIXILAB Player
PIXILAB Player is free software for making a player or interactive kiosk out of a small form-factor PC (such as a "NUC computer"), for use with Blocks as a Display Spot. This article describes how to install PIXILAB Player.
 NOTE: This article describes the current version of the player, recommended for new installations. This player version requires Blocks version 7 or later. For systems based on previous Blocks versions, you may prefer to use the legacy version of PIXILAB Player. That legacy version also supports network (PXE) booting which this newer version doesn't.
PIXILAB Player System Requirements
We recommend using a NUC computer. For basic applications in HD resolution, you can choose a low-cost, Celeron based model. For most applications, an i3- or i5-based model is sufficient. For demanding applications, select an i7-based model, or faster.
The player needs 8 GB of RAM to be installed. Choose RAM of the fastest type supported by the computer. For optimal video performance, two RAM modules are recommended for best memory bandwidth.
Pixilab player must be installed on an internal SSD for production applications. The player can be started directly from a USB memory stick for temporary computer compatibility testing, without the need to install.
Getting Started
Start by going to https://pixilab.se/outgoing/blocks/player-maker7/ (see below) which provides instructions for downloading the latest PIXILAB Player image as well as creating a configuration file for your player. Store the downloaded files somewhere on your computer. For more information about the various configuration options, see the Configuration Options section below.

After downloading the disk image and your configuration file, use Etcher to transfer the disk image to the USB stick.

When Etcher has transferred the image to the USB stick, copy the just downloaded configuration file (named “playerconfig.txt”) to the USB stick. If the USB stick doesn't appear in Explorer/Finder, try removing the USB stick and inserting it again. If multiple external drives appear, select the one labeled "PIXICFG".
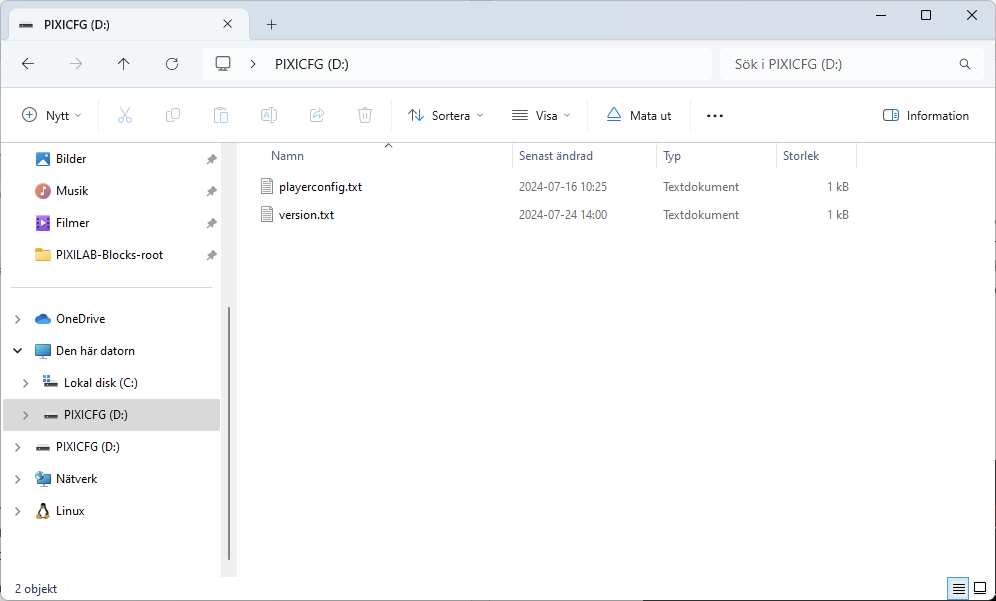
IMPORTANT: The configuration file must be named "playerconfig.txt" and be placed at the root-level of the USB memory stick.
After copying the “playerconfig.txt” file to the USB stick, do as follows:
- Eject it from your computer.
- Move it to the target computer (the one that will become the player).
- If you are installing PIXILAB Player on an internal SSD, ensure that the target computer has only one internal disk (where the player software will be installed). Ensure that no other USB sticks/drives are connected apart from the player USB.
- Boot the target computer from the USB stick.
NOTE: If the computer doesn't boot from the USB stick, you need to enter its BIOS and change its boot settings to boot from USB. You may also need to turn off any Secure Boot option.
If you have configured PIXILAB Player to run from the USB stick (i.e., you set the “Install on internal disk” option to “no”), the installation is now complete. Once the player has booted, you should see the PIXILAB logo on the screen with an ID string below, allowing you to add it as a Display Spot to Blocks.
If you are installing PIXILAB Player on an internal SSD, you should see a screen similar to this once the player has booted.

To test the configuration without installing PIXILAB Player on the internal disk yet, press "t". Note that some features such as block caching are not available in the test mode. Reboot the computer to leave the test mode.
To install PIXILAB Player on the internal drive, press "i". The installer will automatically detect the internal drive and install the system onto it.
When the installation has finished, remove the USB drive and power off the player. Connect the player to the network used by the Blocks server (if it is not already connected) and power on the player again. If everything works as expected, you should see the PIXILAB logo on screen with an ID string below, allowing you to add it as a Display Spot to Blocks.
Updating the Player
PIXILAB Player version 7 and later can be remotely updated from Blocks. This is done using the "Update PIXILAB Player" setting in the Advanced tab in the Display Spot Settings dialog box. This feature is only available when:
- The player starts from an internal SSD (i.e., not from a USB stick).
- The current user has the role of Manager or Admin.
- Another version of PIXILAB Player software is found on your Blocks server.
Player updates must be stored here inside Blocks’ root directory on your server:
public/PIXILAB_Player/updates/pixilab-player-XXX.img
where XXX is the version number. The current version of PIXILAB Player can be obtained from the link in point 1 on the web page shown above under "Getting Started". Updates must be named exactly as shown above, so don’t rename them after download.
Configuration Options
In most cases, only three settings need to be specified:
- The domain or IP address of the Blocks server.
- The keyboard layout (if a physical keyboard is to be used).
- Whether to show the mouse cursor (if you intend to connect a mouse to the display spot).
Enter only the IP address or domain name in the text field. Do not append "/spot" or any other path. When using our Linux based server image, you don't need to specify a port number. However, if you're running Blocks on your Mac or Windows computer, also append any non-standard port number separated by a colon, e.g. :8080.
Additional options can be accessed by checking “Show advanced settings”. Some of these options require more details to be specified and may reveal additional options. Hover over an option to learn more about it, its use cases and possible values.
Blocks Server Connection Type
If you're exposing your Blocks server to the Internet, you're strongly advised to use an encrypted server connection (HTTPS). Note that this requires a domain name and an associated certificate to be installed on your Blocks server.
If players are used only on an intranet, and don't connect over the Internet, you do not need to run HTTPS on those players. In general, unless explicitly forbidden by your server's configuration, players can access the server over HTTP even when the editor and other secure endpoints use HTTPS.
Enable WiFi
We strongly recommend that you use a hardware network connection (Ethernet) whenever possible. However, if you must use a wireless WiFi connection, you can enable that here. When enabled, you must then specify the network name (SSID) and password for accessing the network.
Network configuration
If no DHCP server is available, it is possible to manually configure the network settings for the player. By setting this option to “Manual”, the IP address (with subnet mask in CIDR notation), the default gateway and the DNS server must be specified.
Proxy server
If the player is behind a proxy server, enable this option. You must then enter the address to the proxy server. You can also provide a comma-separated list of addresses that should bypass the proxy server.
Hardware video acceleration
Enables hardware-assisted video decoding on hardware that supports this. This may improve video playback performance, but may in some cases cause other problems or stability issues, so make sure you test on representative hardware and content before deploying players with this function enabled.
Install on internal disk
We strongly recommend that PIXILAB Player is installed on an internal disk for maximum reliability and performance. However, it is possible to run PIXILAB Player directly from the USB stick without installing onto a disk by setting this option to “no”. Note that some features such as block caching and remote upgrades are not available when running from USB.
Timezone
If you need to access local time on the player (e.g., for some custom web content), select the local time zone where the player will be used.
NTP Server
If you specify a timezone to access local time on players, you may also want to specify a custom time server used to set the clock in the player. If not specified, a default NTP server will be used.
Append to URL
This string will be appended to the Spot page URL. It can be used to append query parameters to the URL.
Configuration File
The configuration set through the web-based user interface described above results in settings in the playerconfig.txt file. As an alternative to using the web-based user interface, you can set options directly in the playerconfig.txt file. This can also be used to change settings for a player later.
Each setting in the playerconfig.txt file consist of a single line in the form:
key=value
Valid keys are listed below in bold, with values described in the following text.
- disable_hardware_video_acceleration When set to yes, disables hardware video acceleration. Hardware video acceleration is enabled by default.
- dns The address to the DNS server when using manual network configuration.
- enable_mouse When set to yes, shows the mouse cursor when a mouse device is connected. Mouse devices are disabled by default.
- enable_wifi When set to yes, enables WiFi. WiFi is disabled by default. The SSID of the WiFi network must be specified using the ssid option.
- ssid SSID (name) of WiFi network.
- hidden_ssid Set to yes when connecting to a network with a hidden SSID. Default is no. This option is available in PIXILAB Player 7.2 and later.
- wifi_encryption Set to wpa to specify WPA encryption for the WiFi network. When set to wpa, wpa_password must also be set. Default is no encryption (open network).
- wpa_password Password for connecting to a WPA encrypted WiFi network.
- gateway The address of the default gateway when using manual network configuration.
- ip_address The IP address + subnet mask in CIDR notation when using manual network configuration.
- ntp_server Address to an NTP server for time synchronization. If not set, a default NTP server is used.
- proxy_server Address to a proxy server.
- proxy_bypass Comma-separated list of addresses to bypass proxy server (applies only when proxy_server is used).
- run_from_usb Set to yes to run the player from the USB stick instead of installing to an internal disk. Disabled by default.
- server_location Address + optional port number (separated by colon) to the Blocks server.
- server_protocol Set to http or https depending on the connection type to the Blocks server.
- timezone Time zone used by the player's internal clock.
- touchpad_tap Set to no to disable tap-to-click. Tap-to-click is enabled by default. This option is available in PIXILAB Player 7.1 and later.
- url_append String added to the end of the Spot url. Occasionally useful to apply extra query parameters.
- rgb_range Can be set to auto, full or limited. The default is auto, where the range to be used is governed by the EDID data provided by the display. Set to full to force the full 0…255 range, which is occasionally useful for non-compliant display devices that fail to show full black/white levels. Applies to Intel graphics chipsets only.
- headless_mode Set to yes to use the player without a display, e.g. for audio only playback. Default is no.
- auto_install Set this to yes to install the player on an internal SSD without prompting. This option is available in PIXILAB Player 7.1 and later.
CAUTION: Make sure to mark any USB stick set to auto_install clearly, as inserting this into a random computer set to boot from USB may damage it.
Release notes
Troubleshooting Settings
Use these troubleshooting and debugging settings only after consulting with PIXILAB. Do not leave these options on permanently.
- debug_mode When set to yes access to browser developer tools is enabled.
- ssh_password When a password is set, ssh network access is enabled on the player with the user name root and the specified password.