This is an old revision of the document!
Work in Progress
Use Nexmosphere devices with Blocks
This is an application note that describes how to get started using Nexmosphere sensors and actuators with experiences managed by Blocks.
Hardware requirements
In the examples we use the following hardware:
Nexmosphere https://nexmosphere.com
XN-180 Experience controller (This is the hub and this version has a 3,5mm serial port)
XT-EF650 Gesture sensor
XR-DR1 RFID Pick up sensor
XW-L9 X-WAVE animating led strip
Moxa
NPort 5100 Series - 1 Port Serial Device to TCP/IP Server
3.5mm to dsub cable that connects the XN-180 to the Moxa Nport.
Set up the Nport
Follow this guide to get the Nport configured for use with Blocks Use the following serial communication settings:
- Baudrate 115200
- Flow Control None
- Parity None EOL CR+LF
- Data Bits 8 Protocol ASCII
- Stop Bits 1
Setup the TCP/IP Device in Blocks
You will have to install the Nexmosphere driver on your Blocks server by following this guide
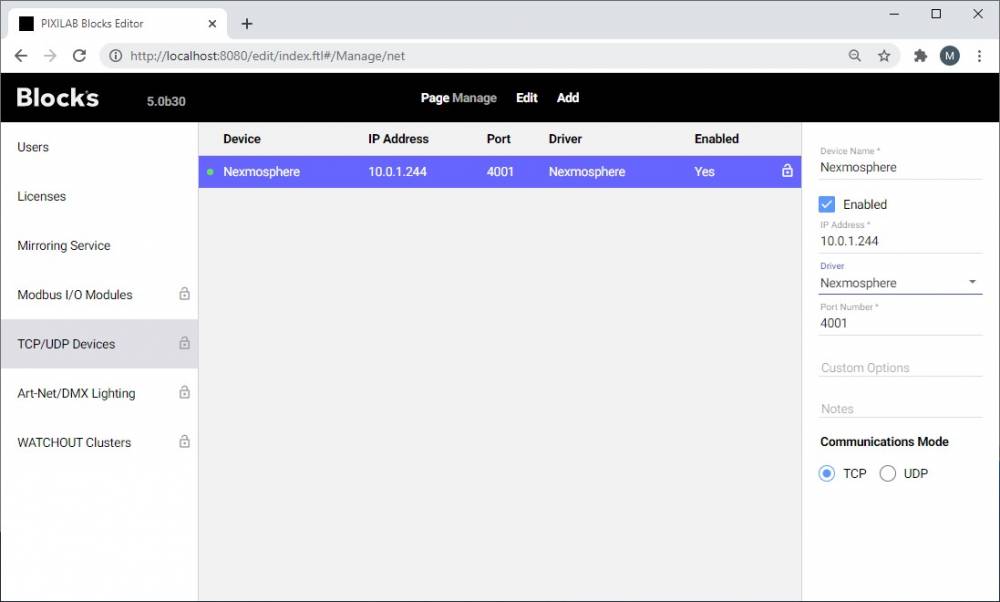
In the editor add the device with the IP address of the N-Port and select the Nexmosphere driver.
General notes regarding the Nexmosphere controller and the driver
It is not possible to hot swap any sensors to the device. If connecting another sensor or removing a sensor the controller must be power cycled before picking up the change. Blocks in turn will poll port 1 to 8 to find out which sensors that is connected and create properties accordingly every time the device is connected. So, if one changes any sensors the driver must be disabled and then enabled before blocks will know of any changes. If a sensors model number on interface 3 is not recognised by the driver a fallback property called iface_3_unknown will be created. Any values received will be passed as a string that may be used for task programming.
Manipulate some content with the value from a proximity sensor
Now that the device has been set up you can import this block as a starting point or just create one on your own from scratch.
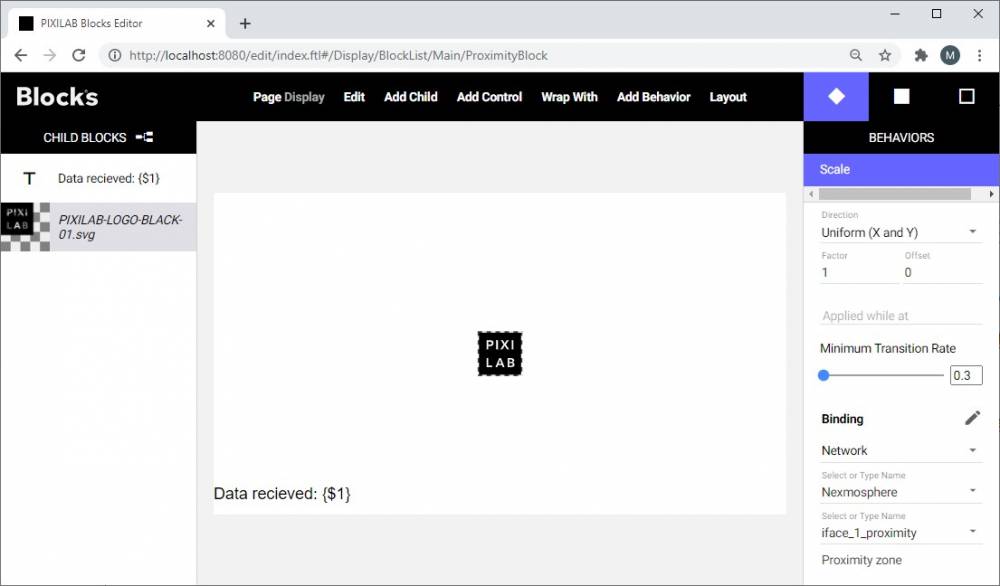
My example has two elements that uses the value from the sensor. Down the bottom there is a text binding that show the current value as text.
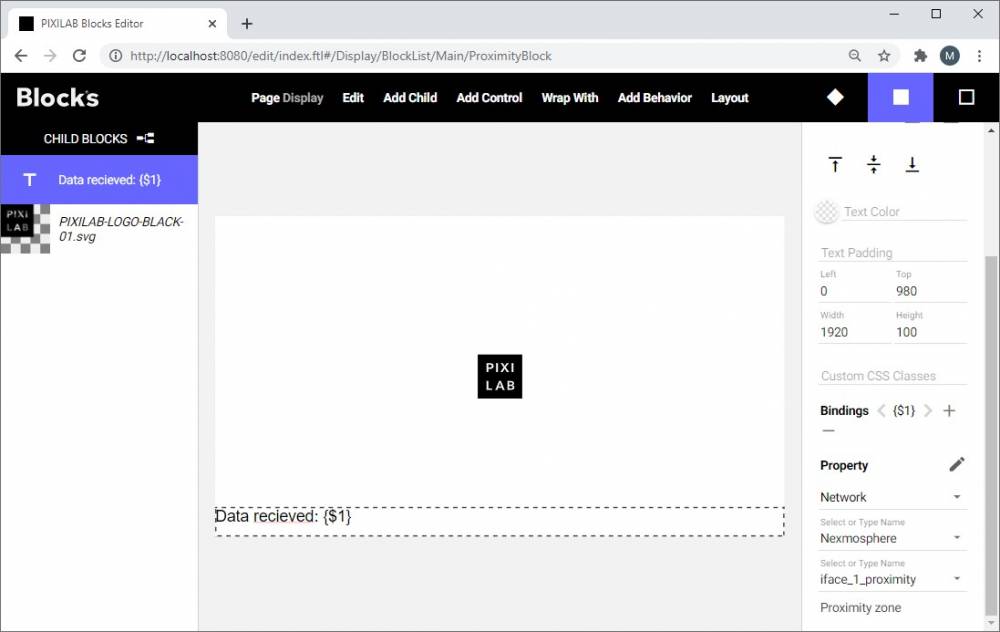
I have also applied a scale behaviour to the logotype. The behaviour is bound direct to the sensors proximity property. To smooth out the animation a bit i changed the minimum transition rate to 0.3 seconds. To try this, just assign this block to a spot and hold your hand in front of the sensor.
Navigate some interactive content with a gesture sensor
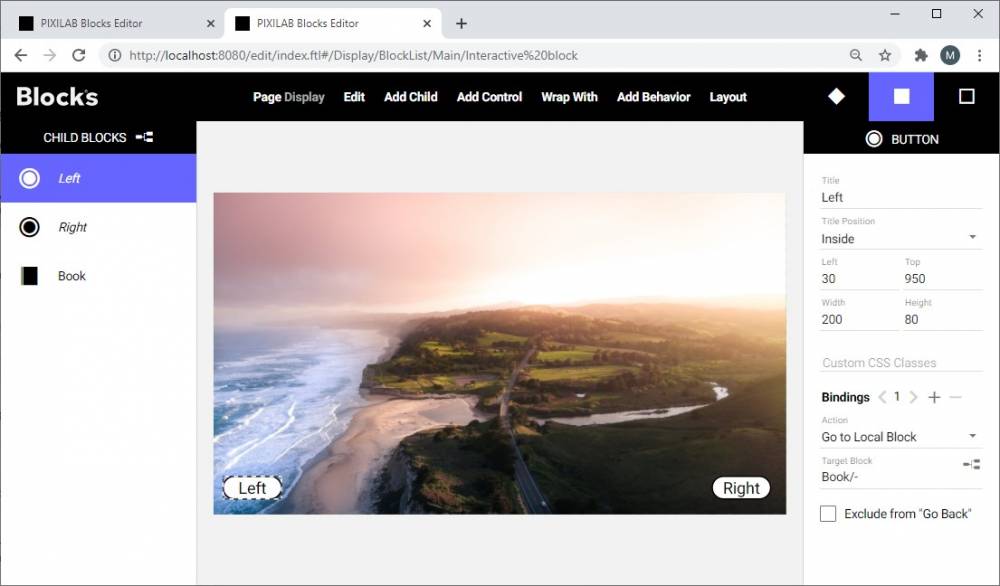
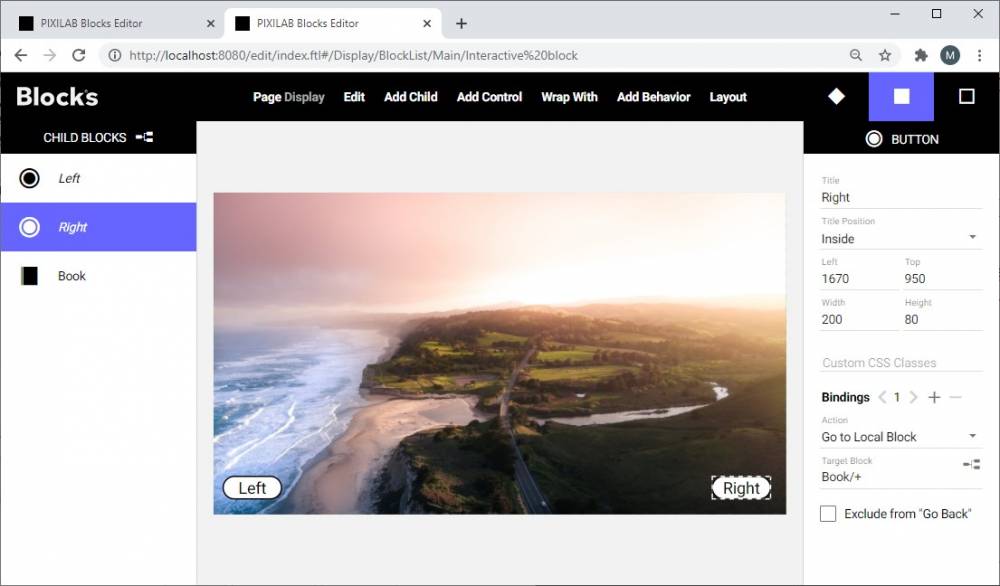
This example block can be downloaded here. In this gesture navigation scenario, I use a simple kiosk application with 3 pages of content stored in a book. I create a couple of blocks buttons that can change page back and forth binding the Go to local block button action targeting the books name followed by a slash and a minus for back.
Repeat the same procedure for the forward button but replace the minus with a plus sign for forward.
Now that the buttons are wired up this can be tested to make sure the pages can be changes by pressing the buttons.
Next trick is to use the gesture sensor to do the button press for us based on the value received from the gesture sensor. To do so we add a press behaviour to the button. The behaviour will only press the button if the iface_2_touch property value is truthy. We use "Sd=LEFT" as a condition for the left button and "Sd=RIGHT" for the right button.
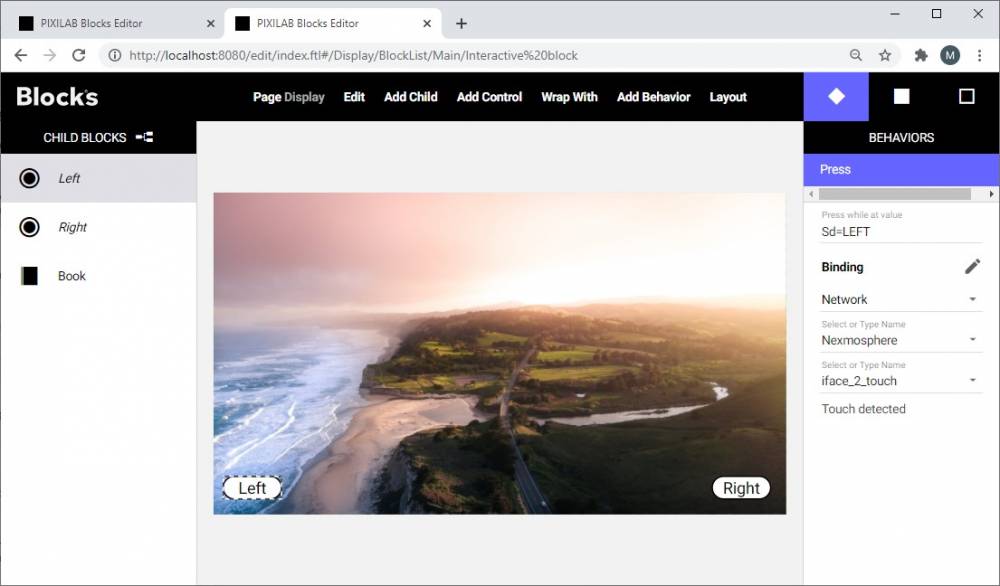
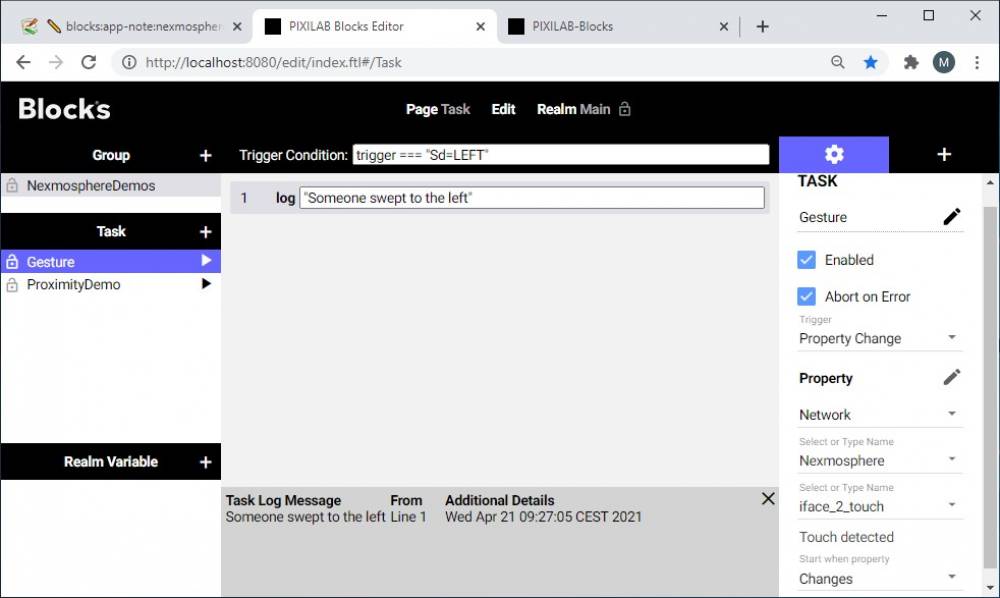
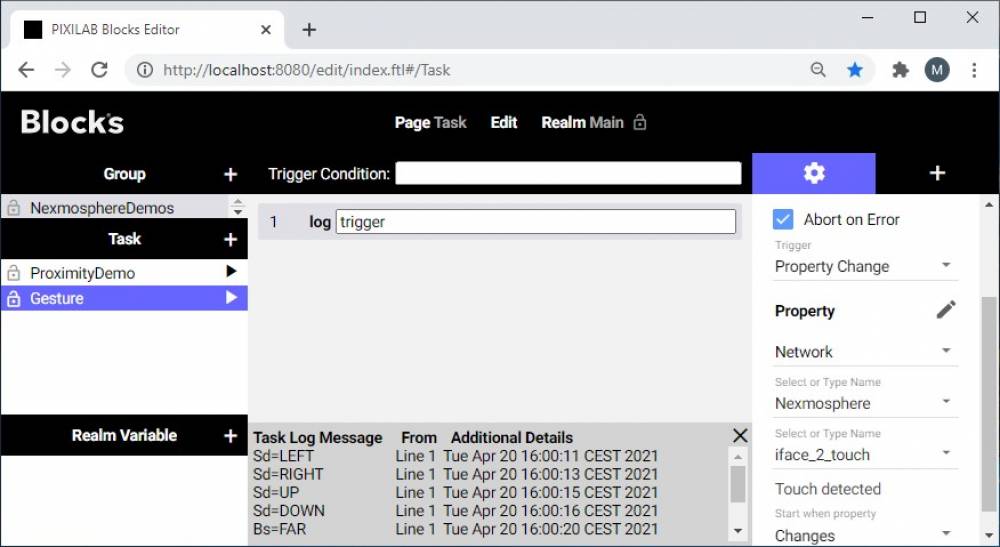
If you want to find out the different values the sensor can send one can create a task that logs the value like in this example.
Run a task triggered by a gesture
Perhaps one would want to use a gesture to trigger a task. Let's take a look at an example task. We trigger the task when iface_2_touch recieves a value. As trigger condition we look for the trigger to match "Sd=LEFT". If it does we just log some information.
In a real scenario the trigger condition would probably be more complex, perhaps we only want to enable this task if a particular piece of content is shown on a screen like in this example:
trigger === "Sd=LEFT" && Spot.DisplaySpot.block === "Main/Interactive block"
Use Nexmosphere RFID pick up sensors
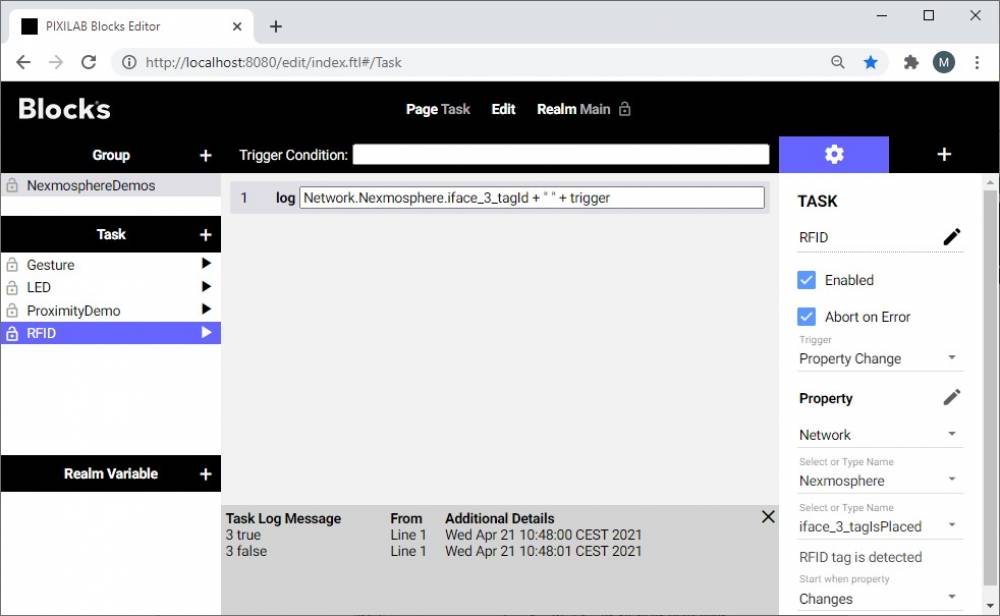
In this example we have a RFID sensor connected to interface 3 of the controller. We trig a task from the change of tagIsPlaced property and in the task we log the tagIsPlaced and TagId. Here tag no 3 has been placed and removed again.
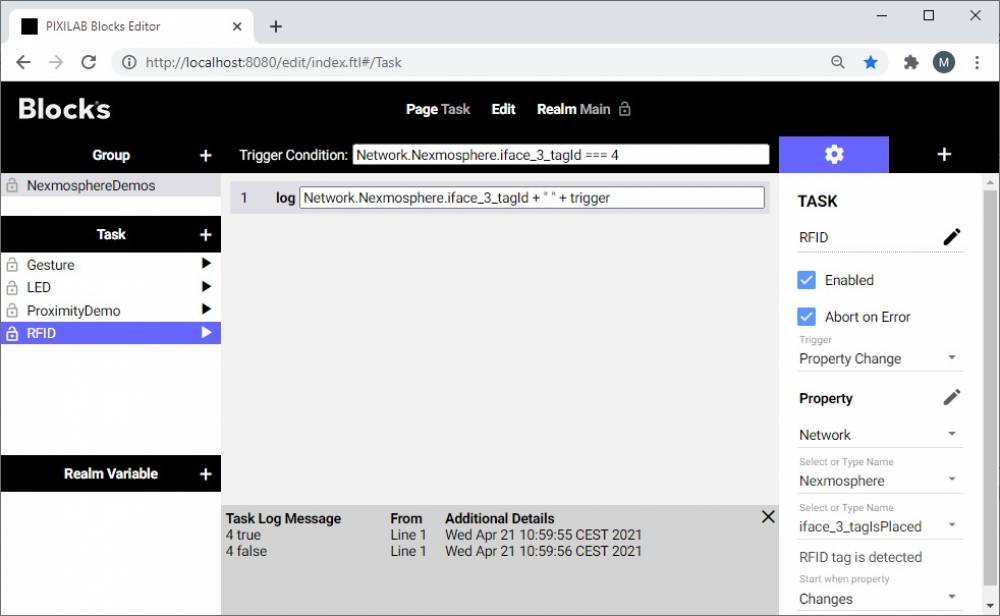
It is pretty usefull to use a trigger condition to make sure task will only run if the desired tag has been placed.
This example will only run if tag with ID no 4 has been placed.
Network.Nexmosphere.iface_3_tagId === 4
Nexmosphere X-WAVE led strip
The X-WAVE led strips can be very useful for user feedback or perhaps light effects.
In this example a LED strip has been connected to interface no 4 of the Nexmosphere controller. In blocks this strip shows up as a unknown device.
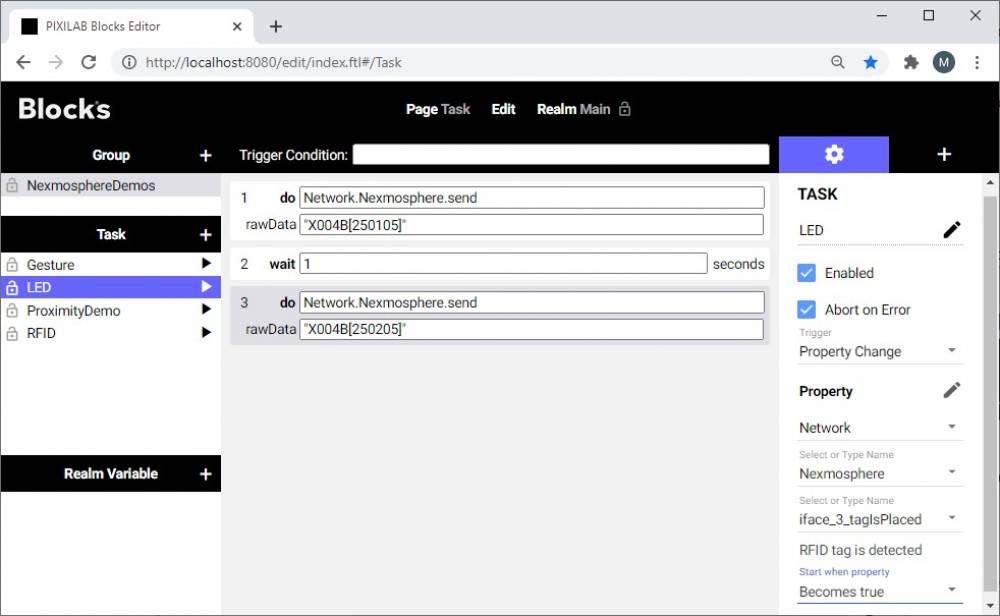
If I want to control the LED all i have to do is to send a string command as rawData to the controller like in this example:
"X004B[250105]"
Where no 4 in X004B specify which interface we want to send the command to.
From the X-WAVE API manual i know this means "Set LED output (on interface 4) to 50% intensity with color 1 in 0,5s"
And this little example will briefly change color whenever a RFID tag has been placed perhaps to provide some user feedback.
