This is an old revision of the document!
Proxmox Virtualizer
Proxmox is an increasingly popular virtualization software. This document describes how to install Blocks as a virtual machine under Proxmox.
Obtaining an OS image
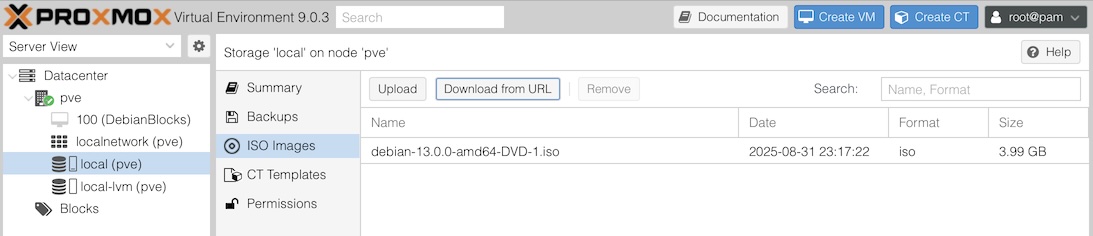
- Find the desired ISO image from https://cdimage.debian.org/ and copy its URL
- Select Server View
- Click "local" storage item
- Click "ISO Images"
- Click "Download from URL"
- Past the URL copied in the first step above
- Click "Download"
- Wait for the image to download
Adding a Pool
Unless you already have a suitable pool configured
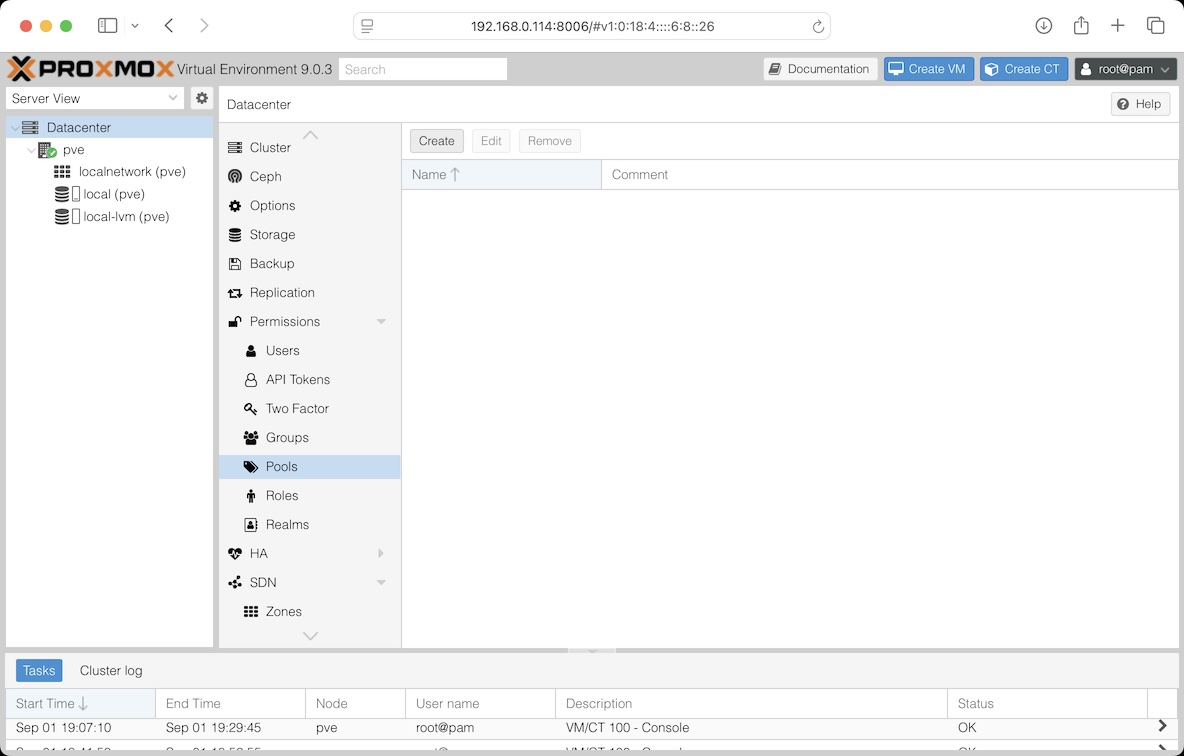
- Select Server View
- Select Datacenter in the list
- Select Pools
- Click Create
- Enter the name "Blocks"
Create a VM
You must use VM, not CT
- Click the blue "Create VM" button at the top of the window
- Select the desired "Resource Pool"
- Name your VM
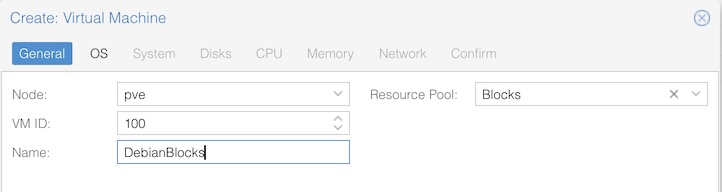
- Click Next
- Select the desired OS image
- Click Next
- Change nothing under System, just click Next
- Change nothing under Disks, just click Next
- Under CPU, set Cores to 2 or more, click Next

- Under Memory, set at least 2048 MiB, click Next
- Change nothing under Network, just click Next
- Click Finish at the last step
Starting the VM for the first time to install the OS
Make sure your Proxmox box is connected to the Internet to download software.
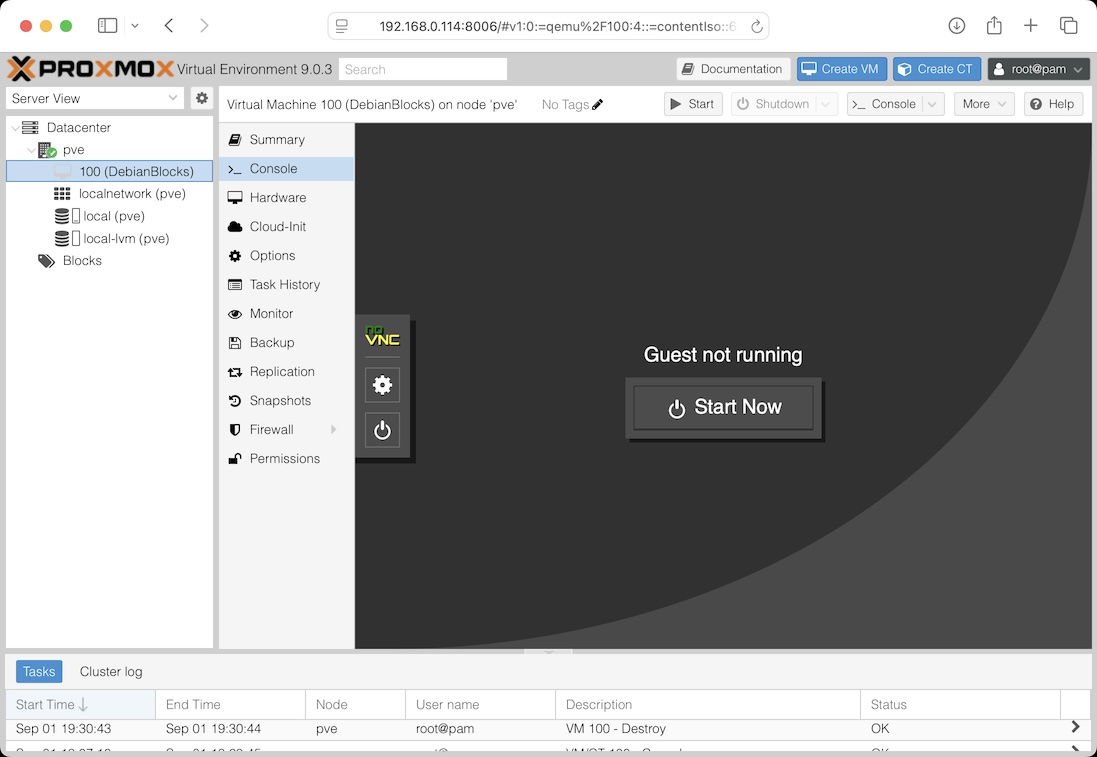
- In the Server View list, select your newly created VM
- Click "Console" to open its console window
- Click "Start Now"
- Once the installer screen appears, select "Graphical Install"
- Select desired Installer language (e.g., English)
- Select your location
- Select your desired locale (e.g., "en_US.UTF-8")
- Select your keyboard layout
- Enter the desired hostname, e.g. debian-blocks
- Enter your domain name, or make something up if you don't have one
- Enter your desired root password
- Enter a user name, such as your own name. Do not use the name "blocks" here, as that will be added later.
- Enter the password for this user
- When asked to "Partition disks" select "Guided - use entire disk"
- Select the (typically single) disk
- Select "All files in one partition"
- Click Continue to "Finish partitioning"
- Select "Yes" and click "Continue"
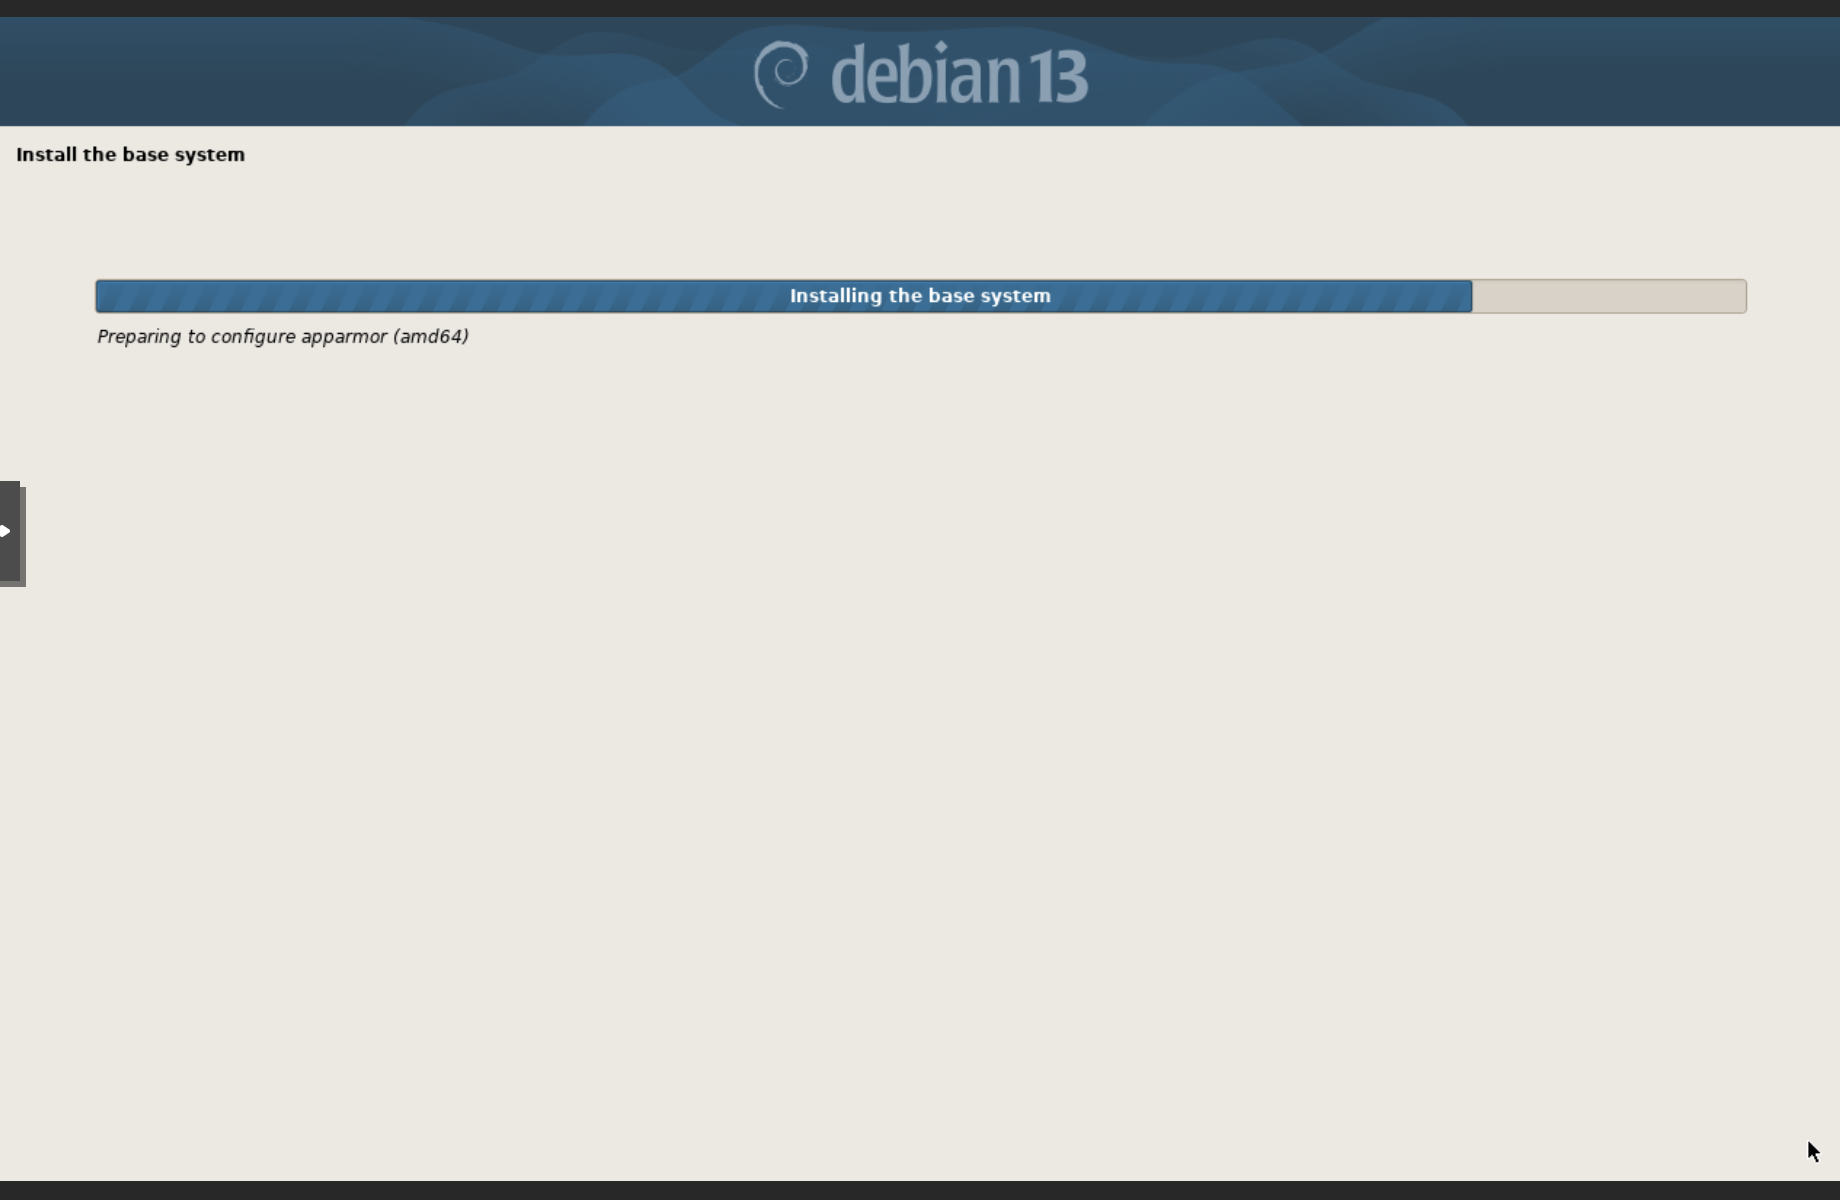
- Wait for the installation to finish
- Do not select "extra installation media"
- Select Yes to use a "network mirror"
- Select your country and a mirror close to you
- Do not enter a "HTTP proxy" unless you know you need one
- Select as desired when asked to "Participate in the package usage survey"
- When asked to choose software to install, select only SSH server, resulting in a minimal OS, accessible over SSH
- Select "Yes" to "Install the GRUB boot loader"
- Select your single drive for the boot loader (typically "/dev/sda")
- Click Continue when asked to reboot
Logging in for the first time
- At the "login:" prompt, type root.
- Type the password you chose while installing the OS
Removing CD-ROM from the list of repositories
Enter the following command to edit the list of repositories
nano /etc/apt/sources.list
- Type a # sign at the beginning of the line containing "cdrom"
- Press Ctrl-O followed by the Enter key to save the file
- Press Ctrl-X to exit the editor
- Type the following command to install the sudo utility
apt install sudo
Installing Blocks
While logged in as root, follow the instructions under Install Blocks
- Start with the command sudo apt update
- Proceed with the remaining commands
- Once installation stops and says "DONE!", give this command to set a password for the user under which blocks is run: passwd blocks
- Enter the desired password for this user
- Obtain the IP address of your Blocks server by typing ip a
- Make a note of the IP address shown for the en-something interface
Using a Physical USB license key
- Plug your USB license key to a USB port on the VM host computer
- Select "Hardware" in the list for your VM
- Select "Add" and chose USB Device 20.57.43
- In the dialog box, select "Use USB Vendor/Device ID" 20.59.14
- Select WIBU-SYSTEMS AG CodeMeter-Stick"
- Click Add
Using a cloud-based Blocks license
Transfer the license file to the blocks user's home directory using a command like this:
scp <your-local-license-file> blocks@<ip-of-your-server>:~
After logging in as the blocks user (see below), run the following command to install the license:
cmu --import --file <license-file-name>
- Return to the Console view
- Follow the instructions under "Enable the server, start now and on boot"
- Log in as the blocks user directly in the Console or
- Connect as the blocks user over SSH from another computer
ssh blocks@<ip-address.-of-blocks-server>
Verify that your license has been connected
cmu -l
- Make sure your license's serial number appears
- Enable and start Blocks using this command
systemctl --user enable --now blocks