Table of Contents
The audio guide
This application note will give you an example that describes how to build content that uses the audio guide functionality in Blocks.
We will discuss
- the recommended block structure
- why and how to use the attractor block
- how the location spot fits in to the audio guide system
Installation
You need a computer with a running blocks server and a web browser to use this application note.
We have prepared a PIXILAB-blocks-root folder containing everything you need to run the examples. Download this ZIP file and unpack it. If you don't know how to do this, read the instructions in the general setup section.
If you have done the general setup, copied the files and pointed to this application notes root block, follow the next steps to run this application on your computer.
- Start Blocks.
- Open the editor using the Admin button.
- Log in using the name admin and the password pixi (assuming default passsword, else enter whatever admin password you assigned).
- Open a second browser window and type in the URL: http://localhost:8080/spot/
- Open a third browser window and type in the URL: http://localhost:8080/spot/index.ftl?mobile=Mob1, this is your audio guide view.
Try it
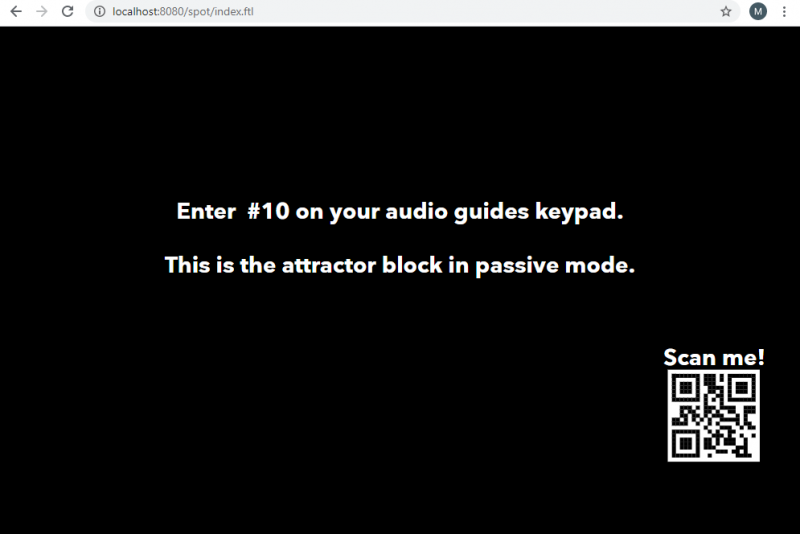
On the Display Spot an instruction should be displayed. This is showing the passive content of an Attractor block.
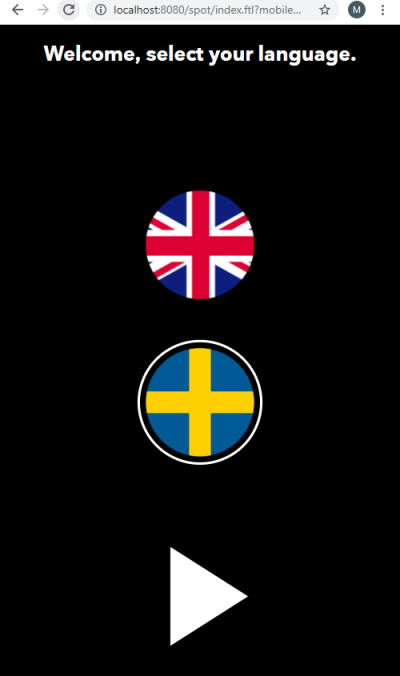
On the visitor spot window, select your preferred language and then confirm with the play button.
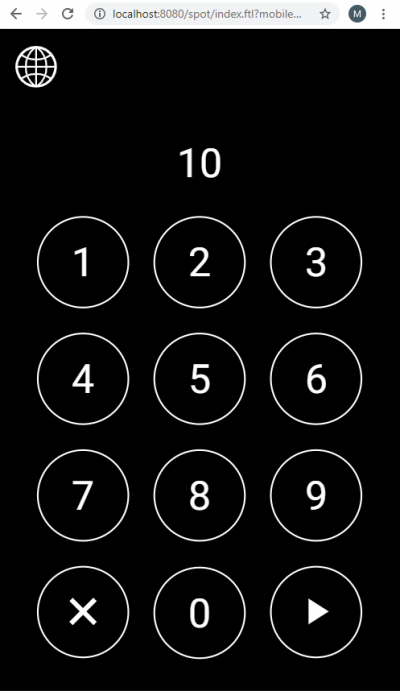
Enter number 10 on the numeric locator keypad. Confirm with the play button.
The Display Spot should now play a short video about Blocks.
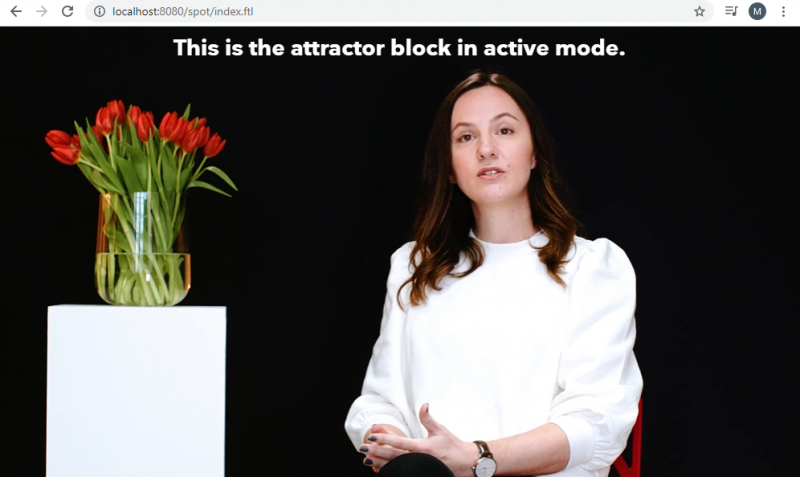
The Visitor Spot should play the audio in your selected language in sync with the video.
Location Spot
Return to the locator’s number pad and enter # 40, then press the play button to confirm. This is an example of the Location spot. It is mainly used to display, and playback content associated to a location or a physical object using a Locator block.
How does it work
Open the editor and edit the AudioGuideMob1Index block. As you can see the root block is a book with two pages. The Language page is the interface for language selection. Double click this page to see it is children. The headline is a SlideShow that alternates the test in both languages. SweBtn and EngBtn is buttons that can set a local tag depending on selected language. The button has a .css class called "invisible" set. (The class refers to the css file specified in the root block) And the binding will set a local tag to eng of the tag set eng, swe. The tag set is there to remove the tag previously set in exchange for the new one.
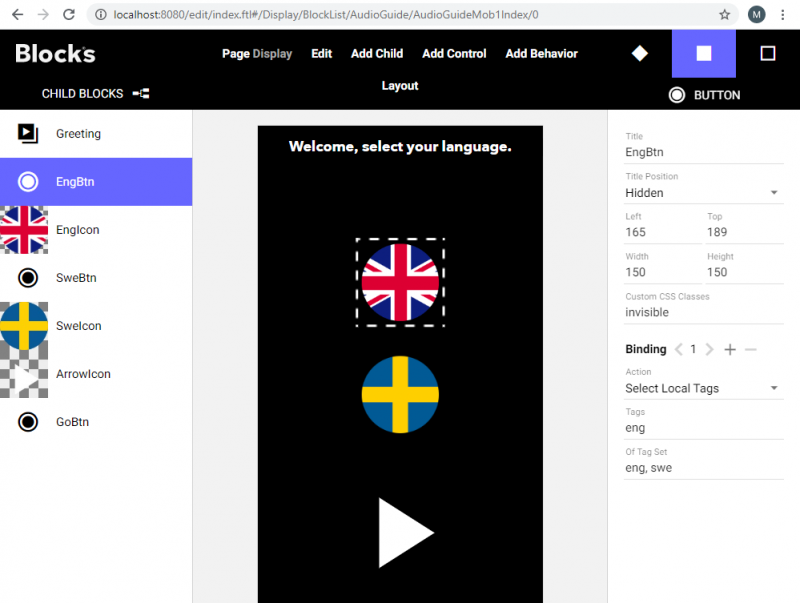
The GoBtn is bind to Go to Local Block with target ../Locator and that changes page to the Locator interface.
Now look at the Locator page in the same book.
There is a button called LangBtn that brings up the language selection again. The Locator is the child used to locate content based on Location ID. This example is set to Auto-close when Playback Stops and the Back Button is set to Close Location.

In the Spot list of the editor overview, it is possible to see the Location ID's se to any Spot Group, Display or Location Spot. (i.e DisplaySpot #10)
Now return to the overview and edit the PixilabVoxDIsplaySpotIndex block to see how is is structured.
The root block is a Synchronizer. This block enables synchronisation for the media contained in any of the childs forther down in the blocks structure. As the Synchronizer handle tags in s similar way as a tag selector we have 3 child blocks direct under the root, all with different tags. The first child is an Attractor block with the tag displayspot. The same tag is set to the DisplaySpot. The other two children is compositions with the language tag and the mobile tag that is also set to the Mob1 visitor spot.

The language tag is set on the visitor spot as a local tag in run time by clicking the buttons for language selection mentioned earlier in this article.
Have a look around in the Attractor block and inside the AudioGuide children to see how they are built up. As you can see the Attractor has one Active and one Passive child. The passive child is displayed by default and it switches to the active child as soon as a locator locates to that spot.

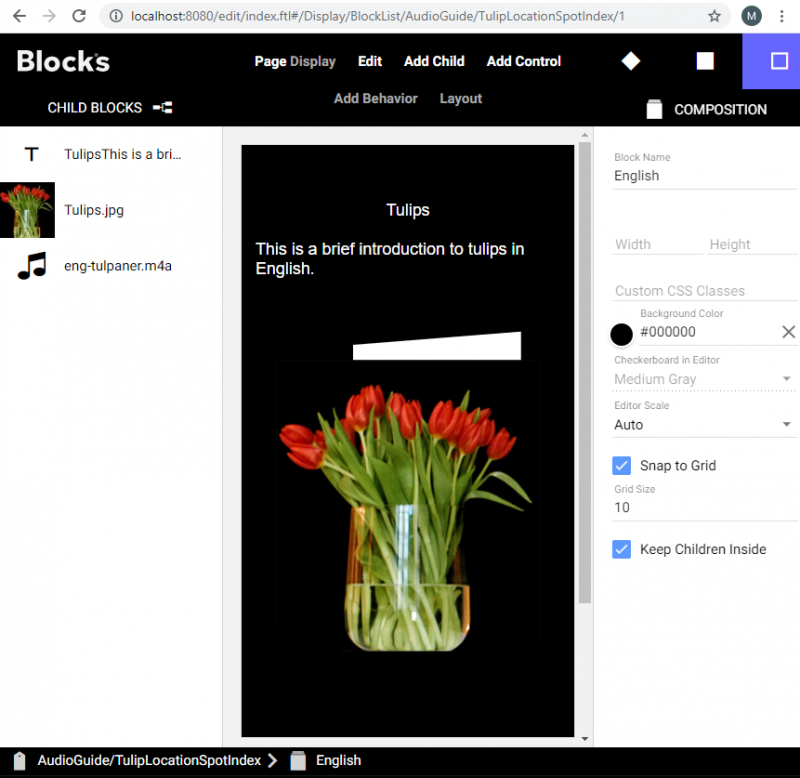
Finally, edit the TulipLocationSpotIndex block to see how it is structured. The root block is a Tag Selector. Inside there are two compositions, one per language. They have the eng respective swe tags set. Each composition has an audio file and some text. This is how we select content depending of the selected language. Of course, the tag selector can be used for many other applications and scenarios, language is just one case where we benefit from the tag feature of Blocks.
Try something else
Try to build a similar setup with a synchronizer, language selection and some of you own content. It is a good idea to read the manual to find out what the difference settings do. Try the different options to compare the behaviours.
The example has a QR code that can be used for locate with a bar code scanner. A separate application note will give some insight how to use the excellent device Zebra EC30 with a built in bar code imager.